Mandy's Moods
An LED-illuminated desktop sign
Note: All photographs appearing on this page are freely usable for any purpose. Links to high-resolution versions of the pictures appear below each picture.
3D Printing the Mandy's Moods Enclosure
Files for Your 3D Printer:
The Mandy's Moods project was designed using AutoDesk's Fusion 360 3D Modeler program. If you want to make modifications to the box, you will need to download (and learn how to use, if you don't already know) Fusion 360. Sadly, this is a subscription-based product (with monthly subscription prices that only make sense for a professional working on the software 8 hours a day). Fortunately, you can download the use the software for a limited evaluation period; which should be more than enough time to make any desired changes to the Mandy's Moods design. Of course, if you want to print the Mandy's Moods project as-is, you can download the .STL files and ignore Fusion 360 altogether.
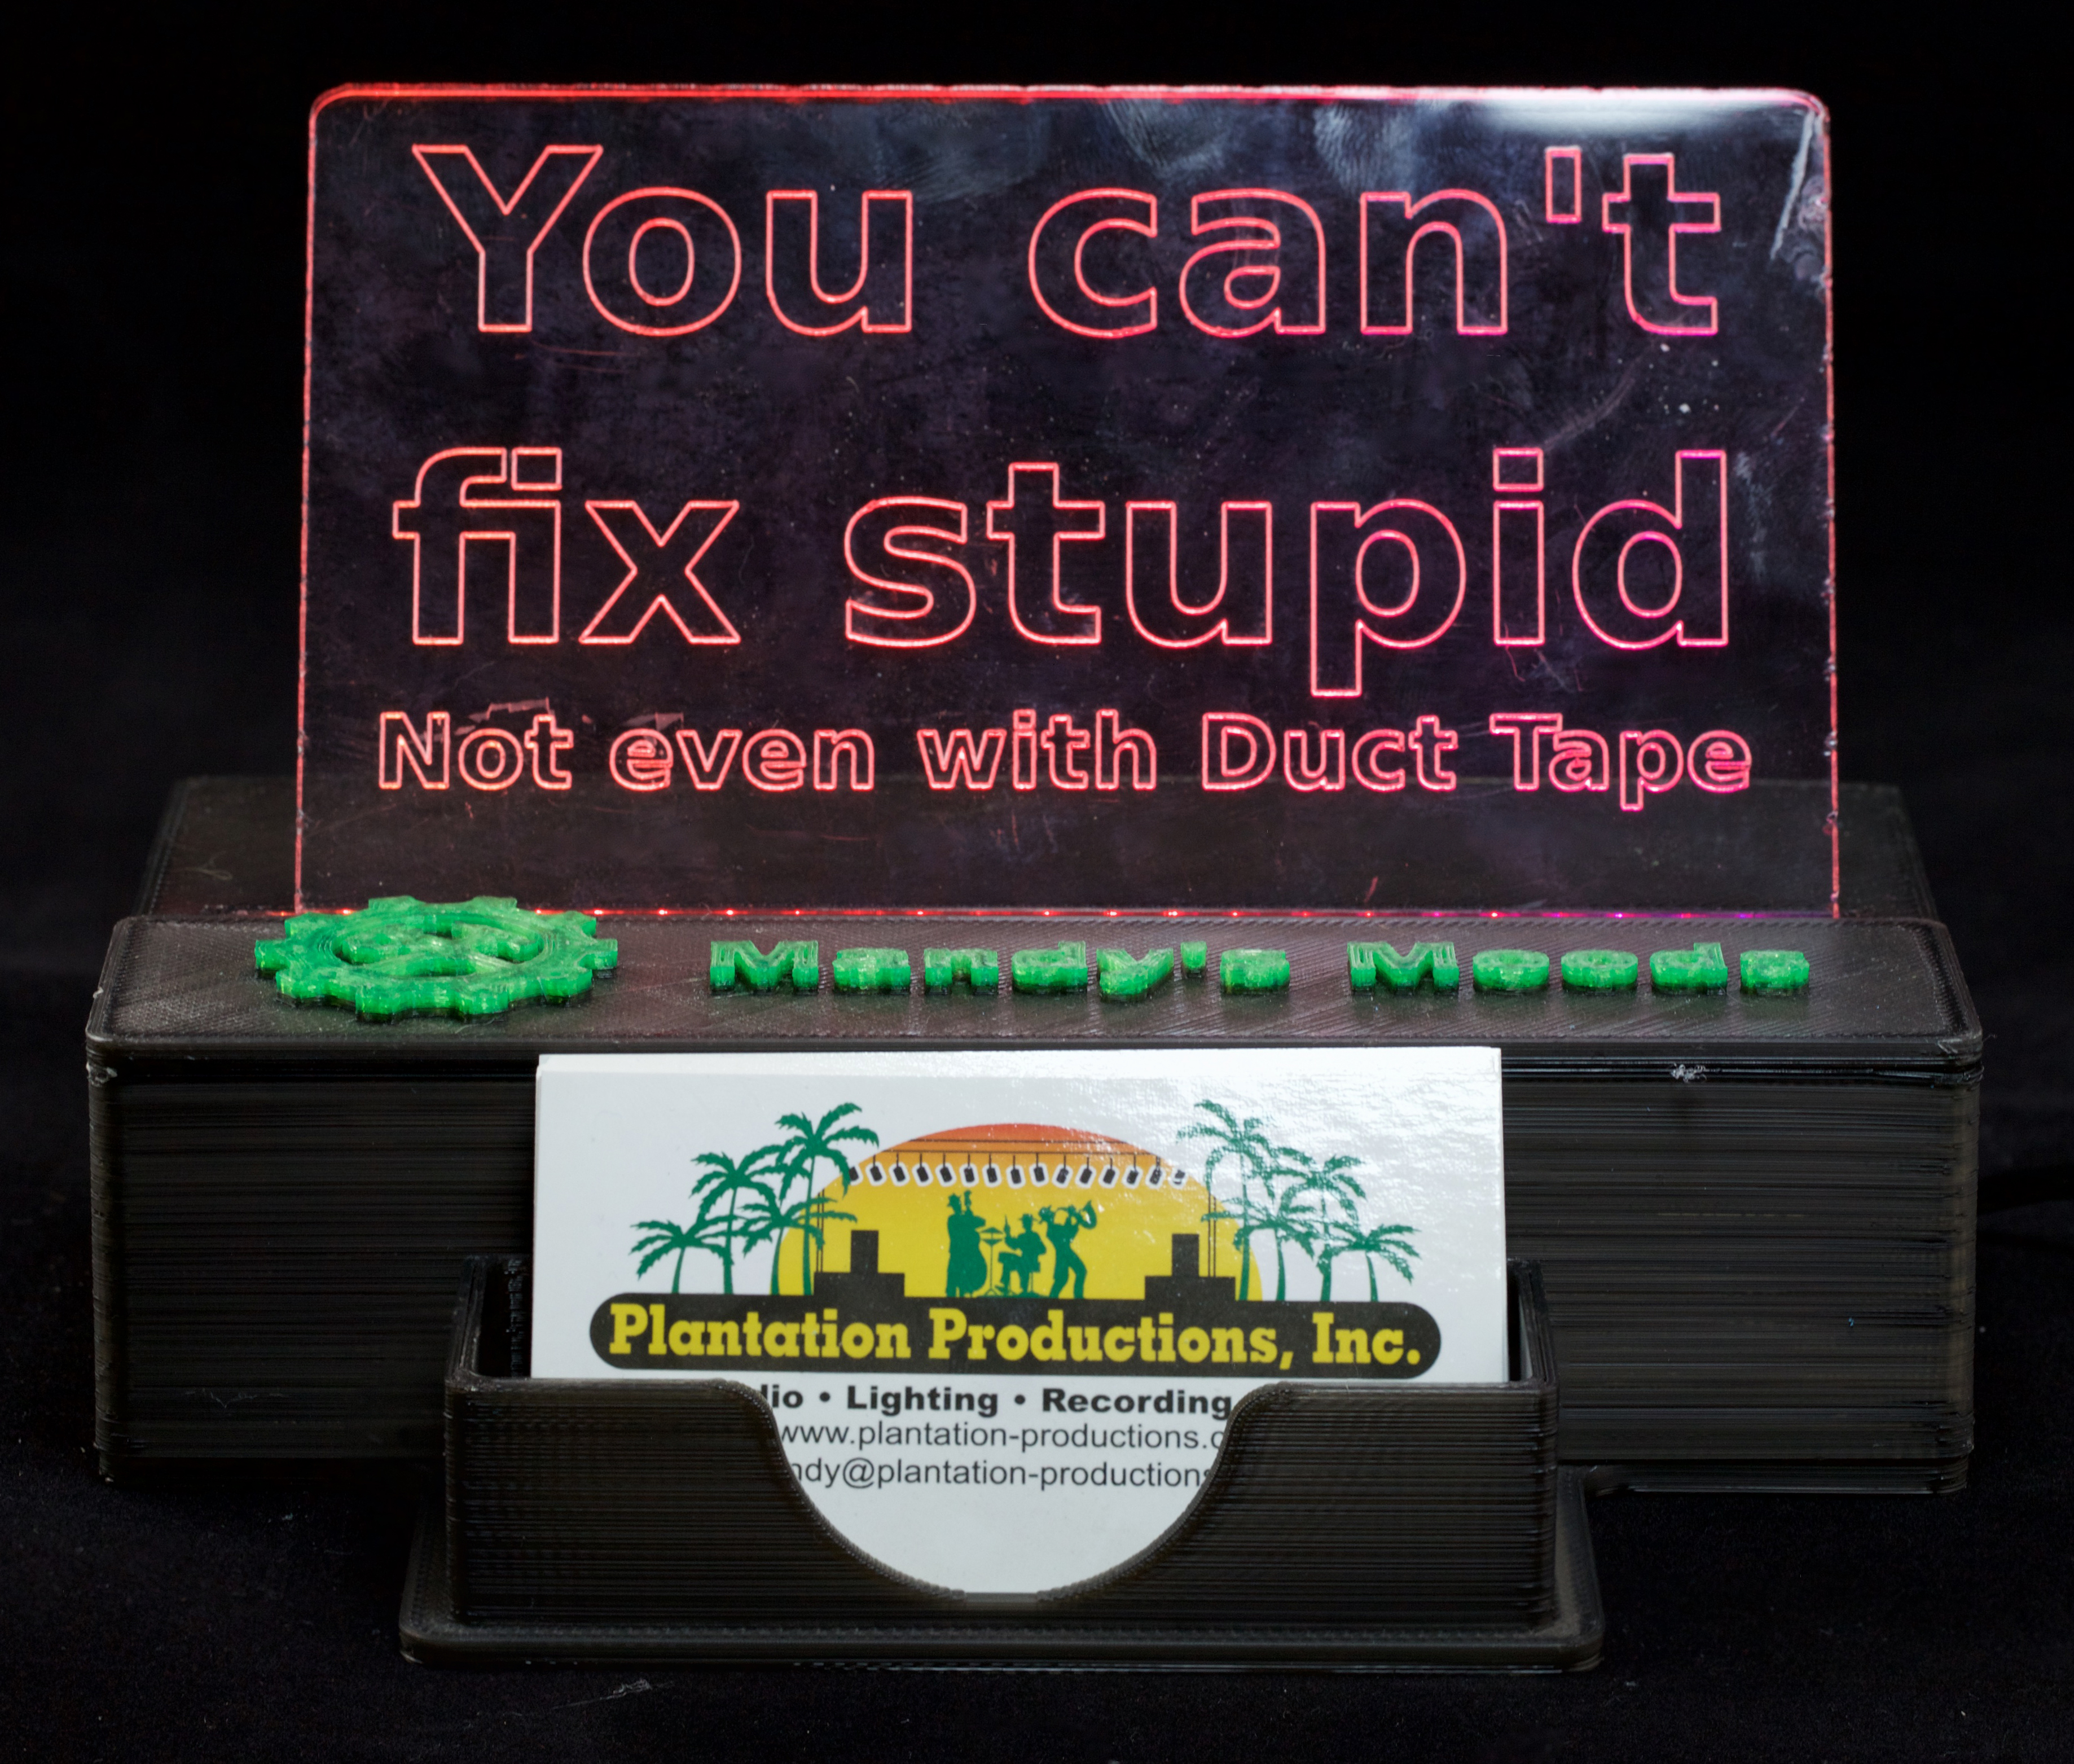
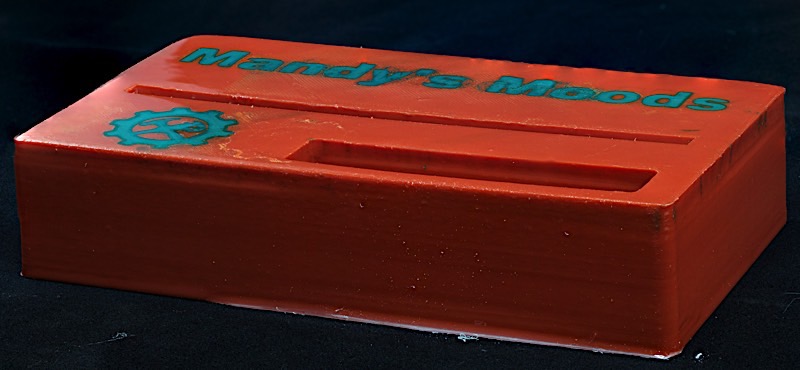
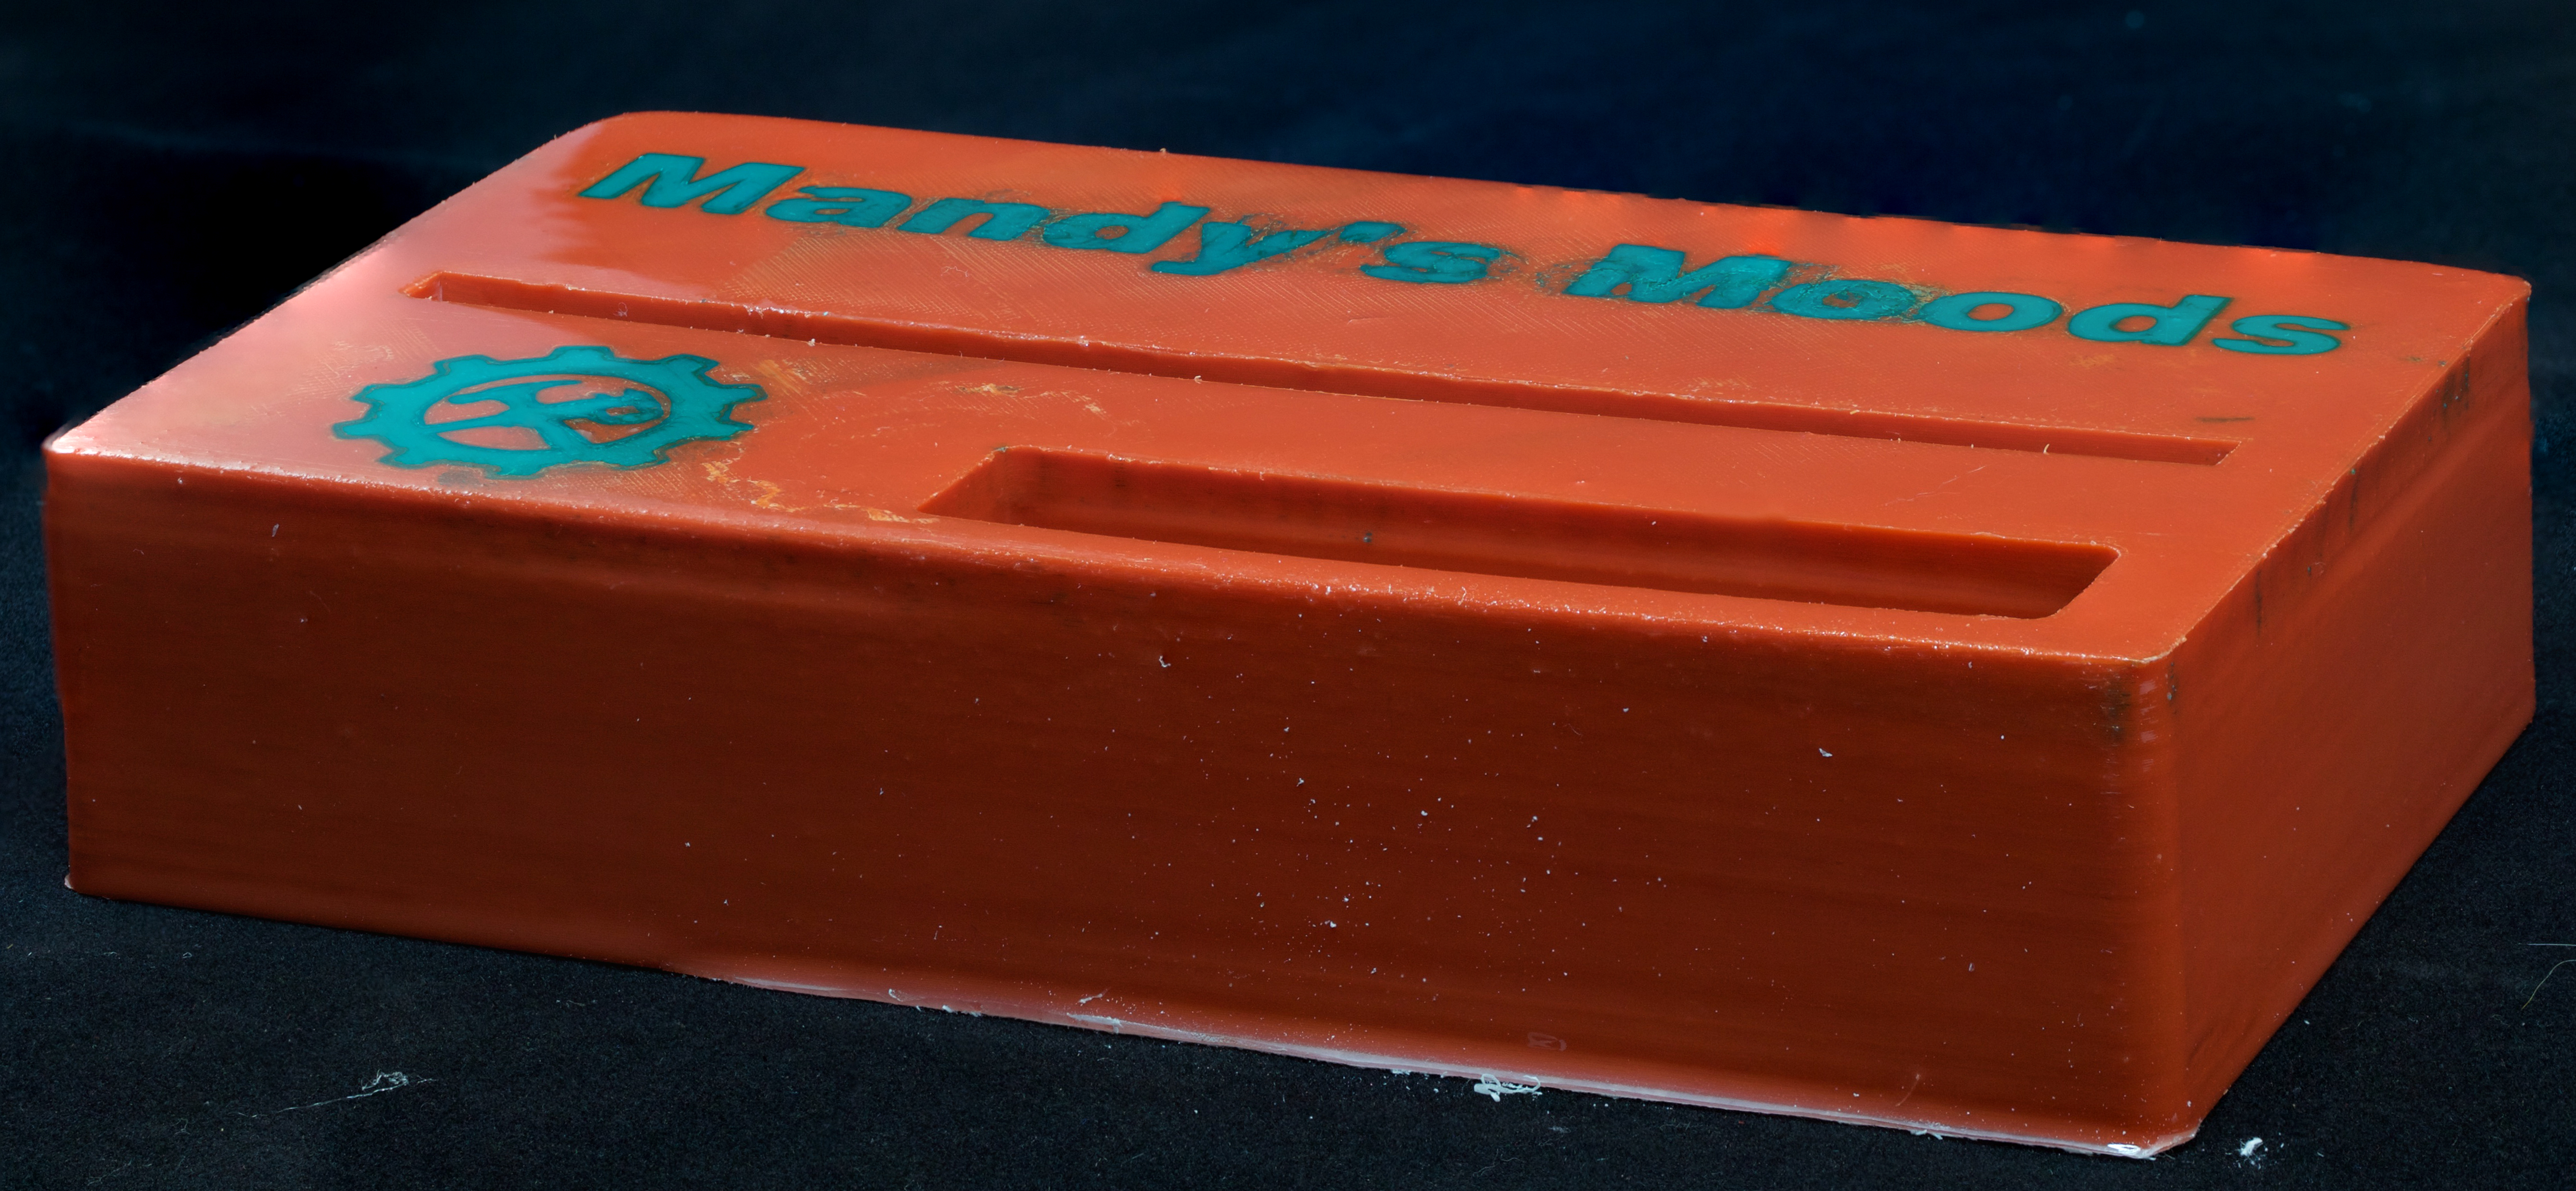
There are two basic versions of the Mandy's Moods project: the "Standard" version and the "Integrated Business Card Holder" version. The standard version has two variants: Plain bottom lid and bottom lid with business card holder extension.
Here's the standard version (no business card holder lid):
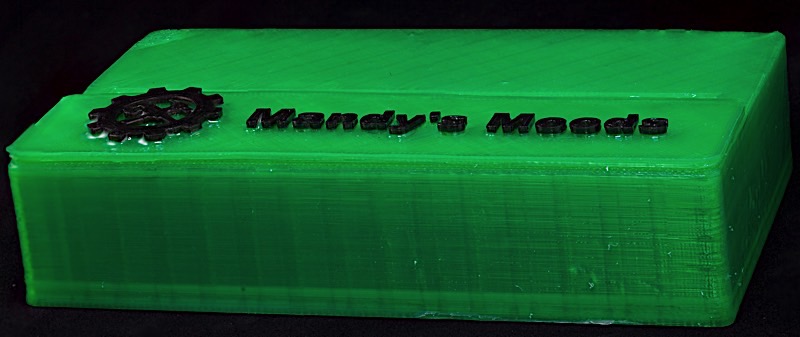
High-resolution image shot with a Canon EOS 5D MII
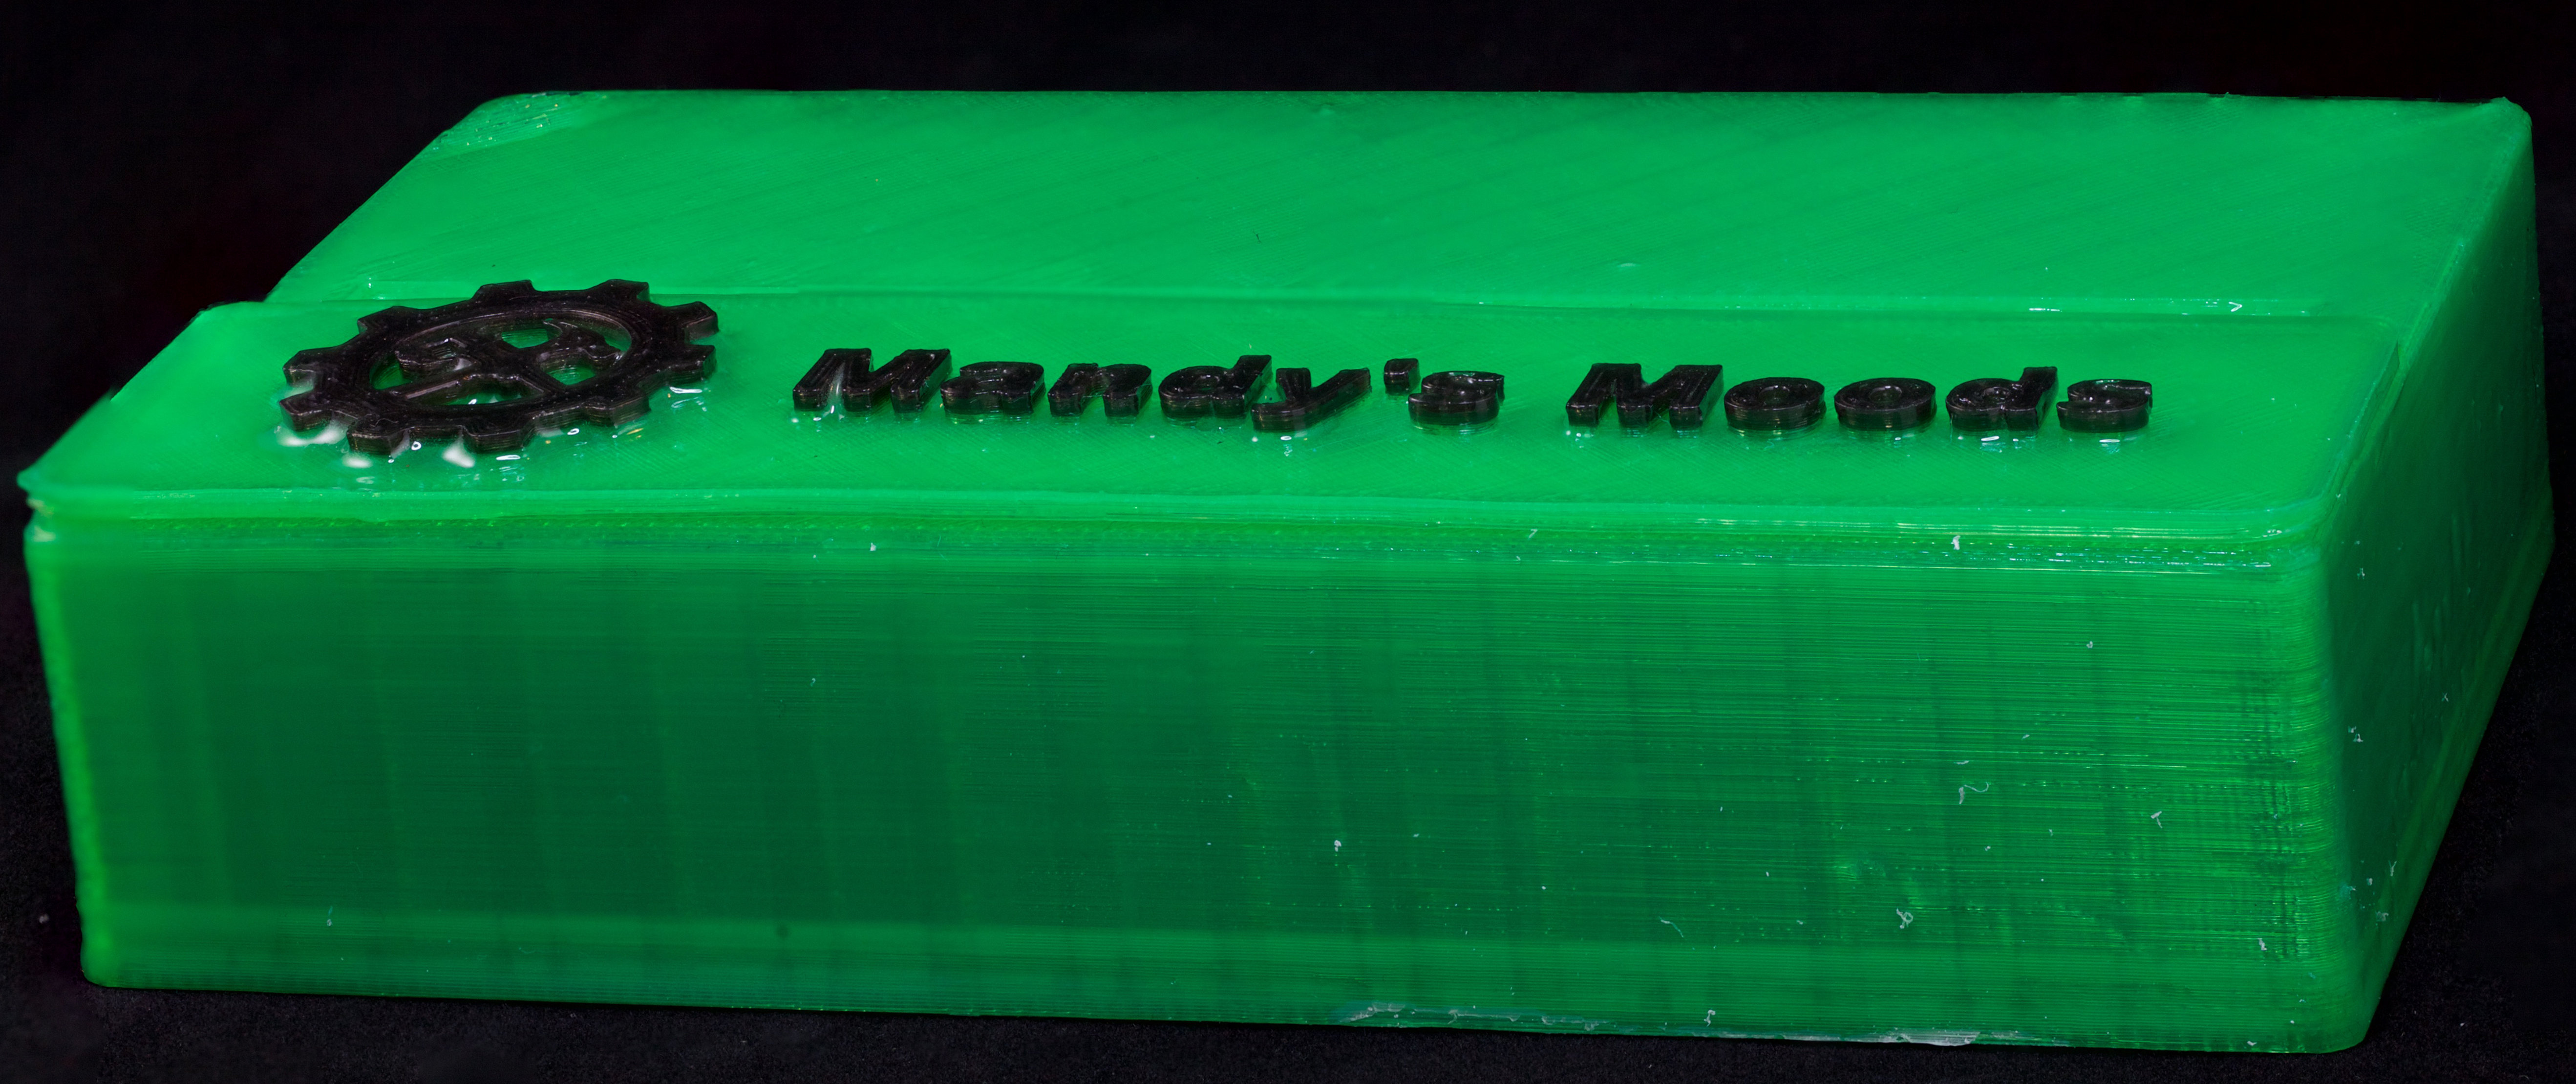
Here's the standard version with the business card holder lid extension:
High-resolution image shot with a Canon EOS 5D MII
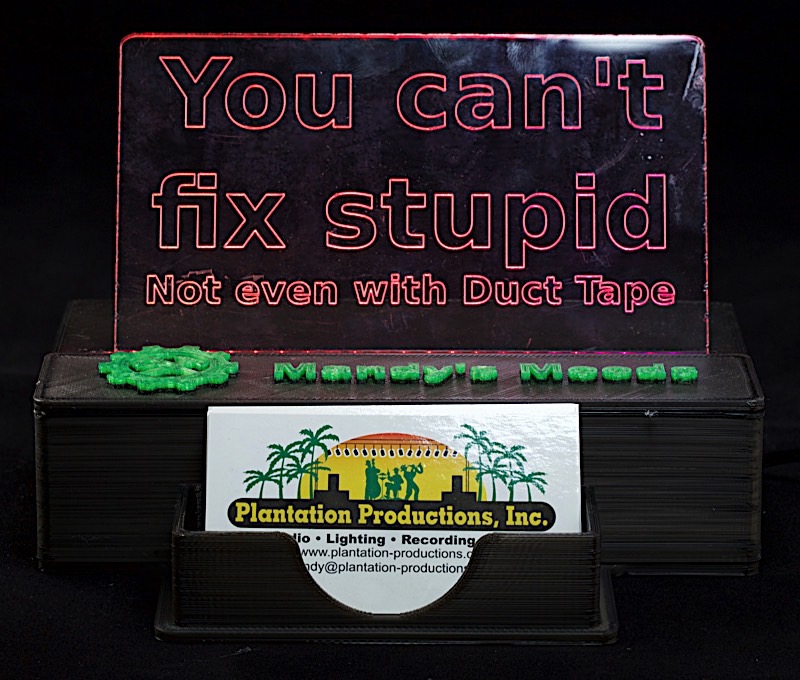
Here's the version with the integrated business card holder:
 High-resolution image shot with a Canon EOS 5D MII
In theory, you could also create a fourth version consisting of the integrated business card box plus the lid containing the business card holder (so you'd have two business card holders in the same unit). I never created one because the only lid/business card holder units I've printed were in PLA and the only integrated business card version I've printed was in ABS. Because the two types of plastics shrink differently, the PLA lid was way too large to fit in the ABS box. So you'll have to imagine the combination yourself as I have no picture of this combination.
Fusion 360 Files:
If you want to edit the 3D design files (perhaps to change "Mandy's Moods" to something else, or put your own logo in rather than using the Vocademy logo), I've exported the Fusion 360 files in all the different formats you can export from Fusion (note that these are different versions of the same files, you need only download one file type):
Standard Version (which was the fourth version I created):
These files include the 3D designs for five parts: the main box, the name panel, a plug object (two of these are used to align the name panel onto the main box when gluing them together), a stanard bottom lid, and a business card holder buttom lid.
Mandy Moods #4.f3d
Mandy Moods #4.ige
Mandy Moods #4.sat
Mandy Moods #4.smt
Mandy Moods #4.step
Integrated Business Card Holder Version (which was the fifth version I created):
These files include two parts: the box and the bottom lid.
Mandy Moods #5.f3d
Mandy Moods #5.iges
Mandy Moods #5.sat
Mandy Moods #5.smt
Mandy Moods #5.step
Note that the bottom lid with business card holder is only present in the version #4 files. If you want to create a Mandy's Moods box with integrated business card holder and a bottom lid with business card holder, you will need to download both the V4 and V5 files.
STL Files:
If you just want to print the Mandy's Moods project as-is, without changing or editing anything, you don't need to mess around with Fusion 360 at all. Just download the STL files and load them into Simplify 3D (or whatever slicer program you used with your 3D printer). Note that there are separate STL files for each object, download only what you need.
BottomLid.stl
Box.stl
CardHolderBottomLid.stl
NamePlate.stl
Plug.stl
BottomLidV5.stl
BoxV5.stl
LogoV5.stl
Editing the Fusion 360 Files:
Note: from this point forward, "standard" shall mean either the "standard" version with plain bottom lid or the "standard" version plus the card holder bottom lid (unless otherwise noted).
In the original design, I had embedded the "Mandy's Moods" and Vocademy logo graphics directly into the top of the box (see the first video on the Mandy's Moods main page). This was perfect for the first prototype and Christmas present. However, I suspect not everyone wants to have the name "Mandy's Moods" embedded into their box and, indeed, some people might actually want to ability to change names after the box is built. Therefore, in the final design of the standard Mandy's Moods box I put the name and graphics on a separate name plate. By using some plugs, I made it possible to provide the box with different name plates that could be swapped by the end user after the box is built. My expectation is that editing this name plate is going to be the most common editing job.
In Fusion 360 I created the text title by typing in some text and extruding it. If you want to edit the text, locate the extrusion operation in the Fusion 360 timeline and edit that text. You may need to adjust the height of the letters depending on how much (or little) text you provide. Other than that, export the 3D STL files and you'll be in business.
Be careful about editing the size of the box. The width (6") was chosen because that's about the largest thing you can print on the Flash Forge Creator V Pro 3D printers at Vocademy. Also, three Adafruit Neopixel sticks (24 LEDs) fit perfectly inside the 6" box. If you make the box any larger or smaller you will have to deal with fitting in the Neopixel sticks in your new design.
You could make the box a little shorter. However, the height was chosen so the electronics would all fit comfortably inside the box. You could probably make it a quarter to half an inch shorter but make sure you leave room for the electronics. There shouldn't be any reason you couldn't make the box taller though I see little reason to do so.
The depth of the box is largely determined by the size of the name plate (the front depth before the slot) and the size of the 2.1mm barrel jack for the power supply (the back depth after the slot). You could make the box deeper, but making it any shallower may create problems. Making it shallower could be desirable, however. If you want to print the business card lid it's a bit too large to print on the Flash Forge Creator V Pro. However, if you edit the lid to have it hold fewer business cards and edit the box to be shallower, the lid might just fit on the Flash Forge Creator V Pro.
Because the standard Mandy's Mood lid with business card holder is a bit too large to print on the Flash Forge Creator V Pro, I created a fifth version of Mandy's Moods to include an integrated business card slot (using a standard lid). This new version allows you to print a business card holder on the Flash Forge Creator V Pro without having to edit the Fusion 360 files.
When I created the V5 box (with the integrated card holder) I was just experimenting with dual color 3D printing on the Flash Forge Creator V Pro. Therefore, I created the text/graphics as a separate object from the box without any axis alignment. As such, when I loaded the two files (box and logo) into Simplify 3D I had to manually align the two objects before producing any GCode. Someday I'll figure out how to do this properly, in the meantime if you edit the V5 logo you'll have to group these objects properly in Fusion 360 or manually align them in Simplify 3D as well.
Printing the STL Files:
I use Simplify 3D as my slicer program for my Lulzbot Taz 6. Although Simplify 3D is not free (and not cheap at about $150) it is widely recognized as the best 3D slicer program out there for consumer machines. Vocademy also uses Simplify 3D so Vocademy students and members have access to this great software. As Simplify 3D is what I use, the following instructions will assume the use of Simplify 3D. If you use a different 3D slicer program, hopefully you can convert these parameters to something you can use with your slicer.
For the Lulzbot Taz 6 and Flash Forge Creator V Pro 3D printers, I used the following values inside Simplify 3D when printing the V4 parts. Note that your mileage may vary, particularly if you are using a different printer.
Extruder Parameters:
Nozzle Diameter 0.50 (standard Taz 6 nozzle)
Extrusion multiplier 1.00 (could also be 0.9, which is standard for printing PLA)
Extrusion Width 0.50 (manual)
Retraction distance: 2.00 mm
Extra restart distance 0.00 mm
Retraction Vertical lift 0.00 mm ( I'd recommend at least 0.5mm when printing the logo)
Retraction Speed 1800 mm/min
No coast
No wipe nozzle
Layer Parameters:
Primary layer height 0.25 mm (also have done 0.20)
Top solid layers: 6
Bottom solid layers: 3
Outline perimeter shells: 3
Outline direction: Inside-Out
First layer height: 85%
First layer width:90%
First layer speed: 15%
Additions parameters:
Use skirt/brim checked
Skirt layers: 1
Skirt Offset from Part: 4 mm
Skirt outlines: 1
Use Raft: (for Flash Forge Creator V Pro) checked (for Lulzbot Taz 6) unchecked
Use Prim Pillar: unchecked
Use Ooze Shield: checked if two color (two extruders), unchecked if single color (single extruder)
Note: adding an ooze shield can improve surface quality even when printing only a single color. Also, if you must print ABS, having an ooze shield can reduce warping).
Infill parameters:
Infill Pattern: rectilinear (angles 45 and -45)
Interior Fill Percentage: %15
Outline overlap: 20%
Infill Extrusion Width: 200%
Support parameters:
Typically off (see note below). Use default parameters if generating support material.
Note: support material is optional. On the standard box there are two areas where support material could be used: in the hole for the power jack and inside the slot. On the integrated business card version, there is a third place support material can be used -- inside the business card slot. However, I've printed the boxes without any support material and bridging works just fine. This assumes that you print the Mandy's Moods box upside down (with the top against the raft or build plate). If you build it right side up, you will need to turn on support material (and building the box will consume an inordinate amout of filament as it has to fill up the entire inside of the box. When printing on a raft, this isn't an entirely terrible idea as you'll get a much nicer surface on the top of the box).
Temperature parameters:
For PLA:
Extruders should be set to 205 C
Bed should be set to 60 C
For PETG:
Extruders should be set to 250 C
Bed should be set to 80 C
For ABS (not recommended):
Extruders should be set as high as you're comfortable with (on Taz 6 I go to 265, on Creator V Pro I go to 245).
Bed should be set to 110 C
If printing ABS, put up an ooze shield with two outines; this can help reduce warpage.
GCode parameters:
Don't mess with these.
Scripts parameters:
As a general rule, you shouldn't mess with these settings. I have messed around with some scripts to do things like change the filament at a certain layer. However, this is advanced stuff and you could damage your printer if you get something wrong, so I'm loathe to describe any script changes here (i.e., I'm not going to take responsibility for you doing stupid things to your printer).
Other parameters:
Generally, I'd stick with the default settings here except speed. Slower printing almost always produces better results. I commonly knock the default printing speed down to 2400 for PLA and 2000 for PETG (printing faster with PETG almost always causes a nozzle clog). ABS likes slower, too (especially on the first layer); however, ABS is not a recommended material for this project. I've tried lots of different temperature with ABS and they all failed.
Advanced parameters:
I usually have the following checked:
Only retract when crossing open spaces.
Avoid crossing outline for travel movements (10mm maximum detour)
Allow gap fill when necessary.
I'd leave everything else along on the Advanced tab.
When configured for my Lulzbot Taz 6 printer, Simplify 3D reports that this will take about 8 hours to print. If you've used Simplify 3D, you're probably aware that it is very optimistic when it comes to estimates. In reality, the print normally takes 10 hours or so. The Flash Forge Creator V Pro is a little slower. Prints run overnight at Vocademy when I print on this printer.
Importing the 3D files into Simplify 3D
When you load the box into Simplify 3D it should load with the top against the build platform. If not, rotate the object so that the top is on the build platform.
Alternately, you can load the box into Simplify 3D and rotate the top so it is facing up. You will have to turn support material on (on the support tab in Simplify 3D). This will consume a lot more filament and extend the build time considerably, but you'll get a better surface on the top when using a raft (e.g., on the Flash Forge machines).
The name plate file will load in upside down. You will need to flip it 180 degrees on the Y axis so the lettering and graphics are facing up. Note that there are two holes on the bottom of the name plate. In theory, you'd want support material for these, in practice bridging works fine (no need for support material).
The plugs are small cylinders (you will need to print two) that glue into the holes on the name plate. They insert into the corresponding holes on the Mandy's Moods box. You can install the name plate permanently by gluing the plugs into the box (as well as the name plate) or allow temporary installation by only gluing them into the name plate. Gluing them into the name plate only (and pressing them into the box) allows you to swap different name plates.
The (bottom) lid is a rectangular piece of plastic that fits in the bottom of the Mandy's Moods box. It is symmetrical so you can print it either side against the raft or build plate.

Index: