Mandy's Moods
An LED-illuminated desktop sign
Note: All photographs appearing on this page are freely usable for any purpose. Links to high-resolution versions of the pictures appear below each picture.
Introduction:
"Mandy's Moods" is a small 3D-printed box with a set of micro-controller controlled LEDs that light up etched plexiglass (acrylic) panels.
This project started life as a gag Christmas present featuring sayings from Mandy Hyde. A few people saw the device at Vocademy and wanted to make their own, so I created this project page to show how to do it.
This project uses five skills taught at Vocademy:
- 3D printing (through the third class)
- Laser Cutting and Etching (through the third class on plastics)
- Basic Soldering & Electronics
- Arduino Programming
- CAD/CAM using Fusion 360
Though you don't necessarily need to complete all these courses to do this project, it doesn't hurt. Note that if you are using Vocademy equipment to do this project, you will need to, at the very least, complete Laser 3 and 3D printing 1 in order to use the laser cutter to etch acrylic and use the in-house 3D printers. This assumes you already know how to solder and can download a program to an Adafruit Trinket (a simplified Arduino microcontroller) on your own.
"Mandy's Moods" Versions:
There are three variants of the Mandy's Moods project you can build: The "standard" version, the standard version plus a business card holder add-on, and a multiple-extruder version with an integrated business card holder.
3D Printer Notes:
There are five pieces to print with a 3D printer: the box itself, a bottom lid, a nameplate, and two cylindrical plugs for the name plate.
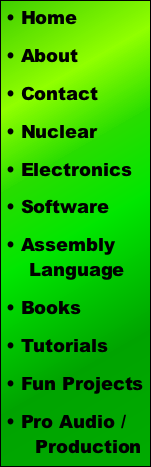
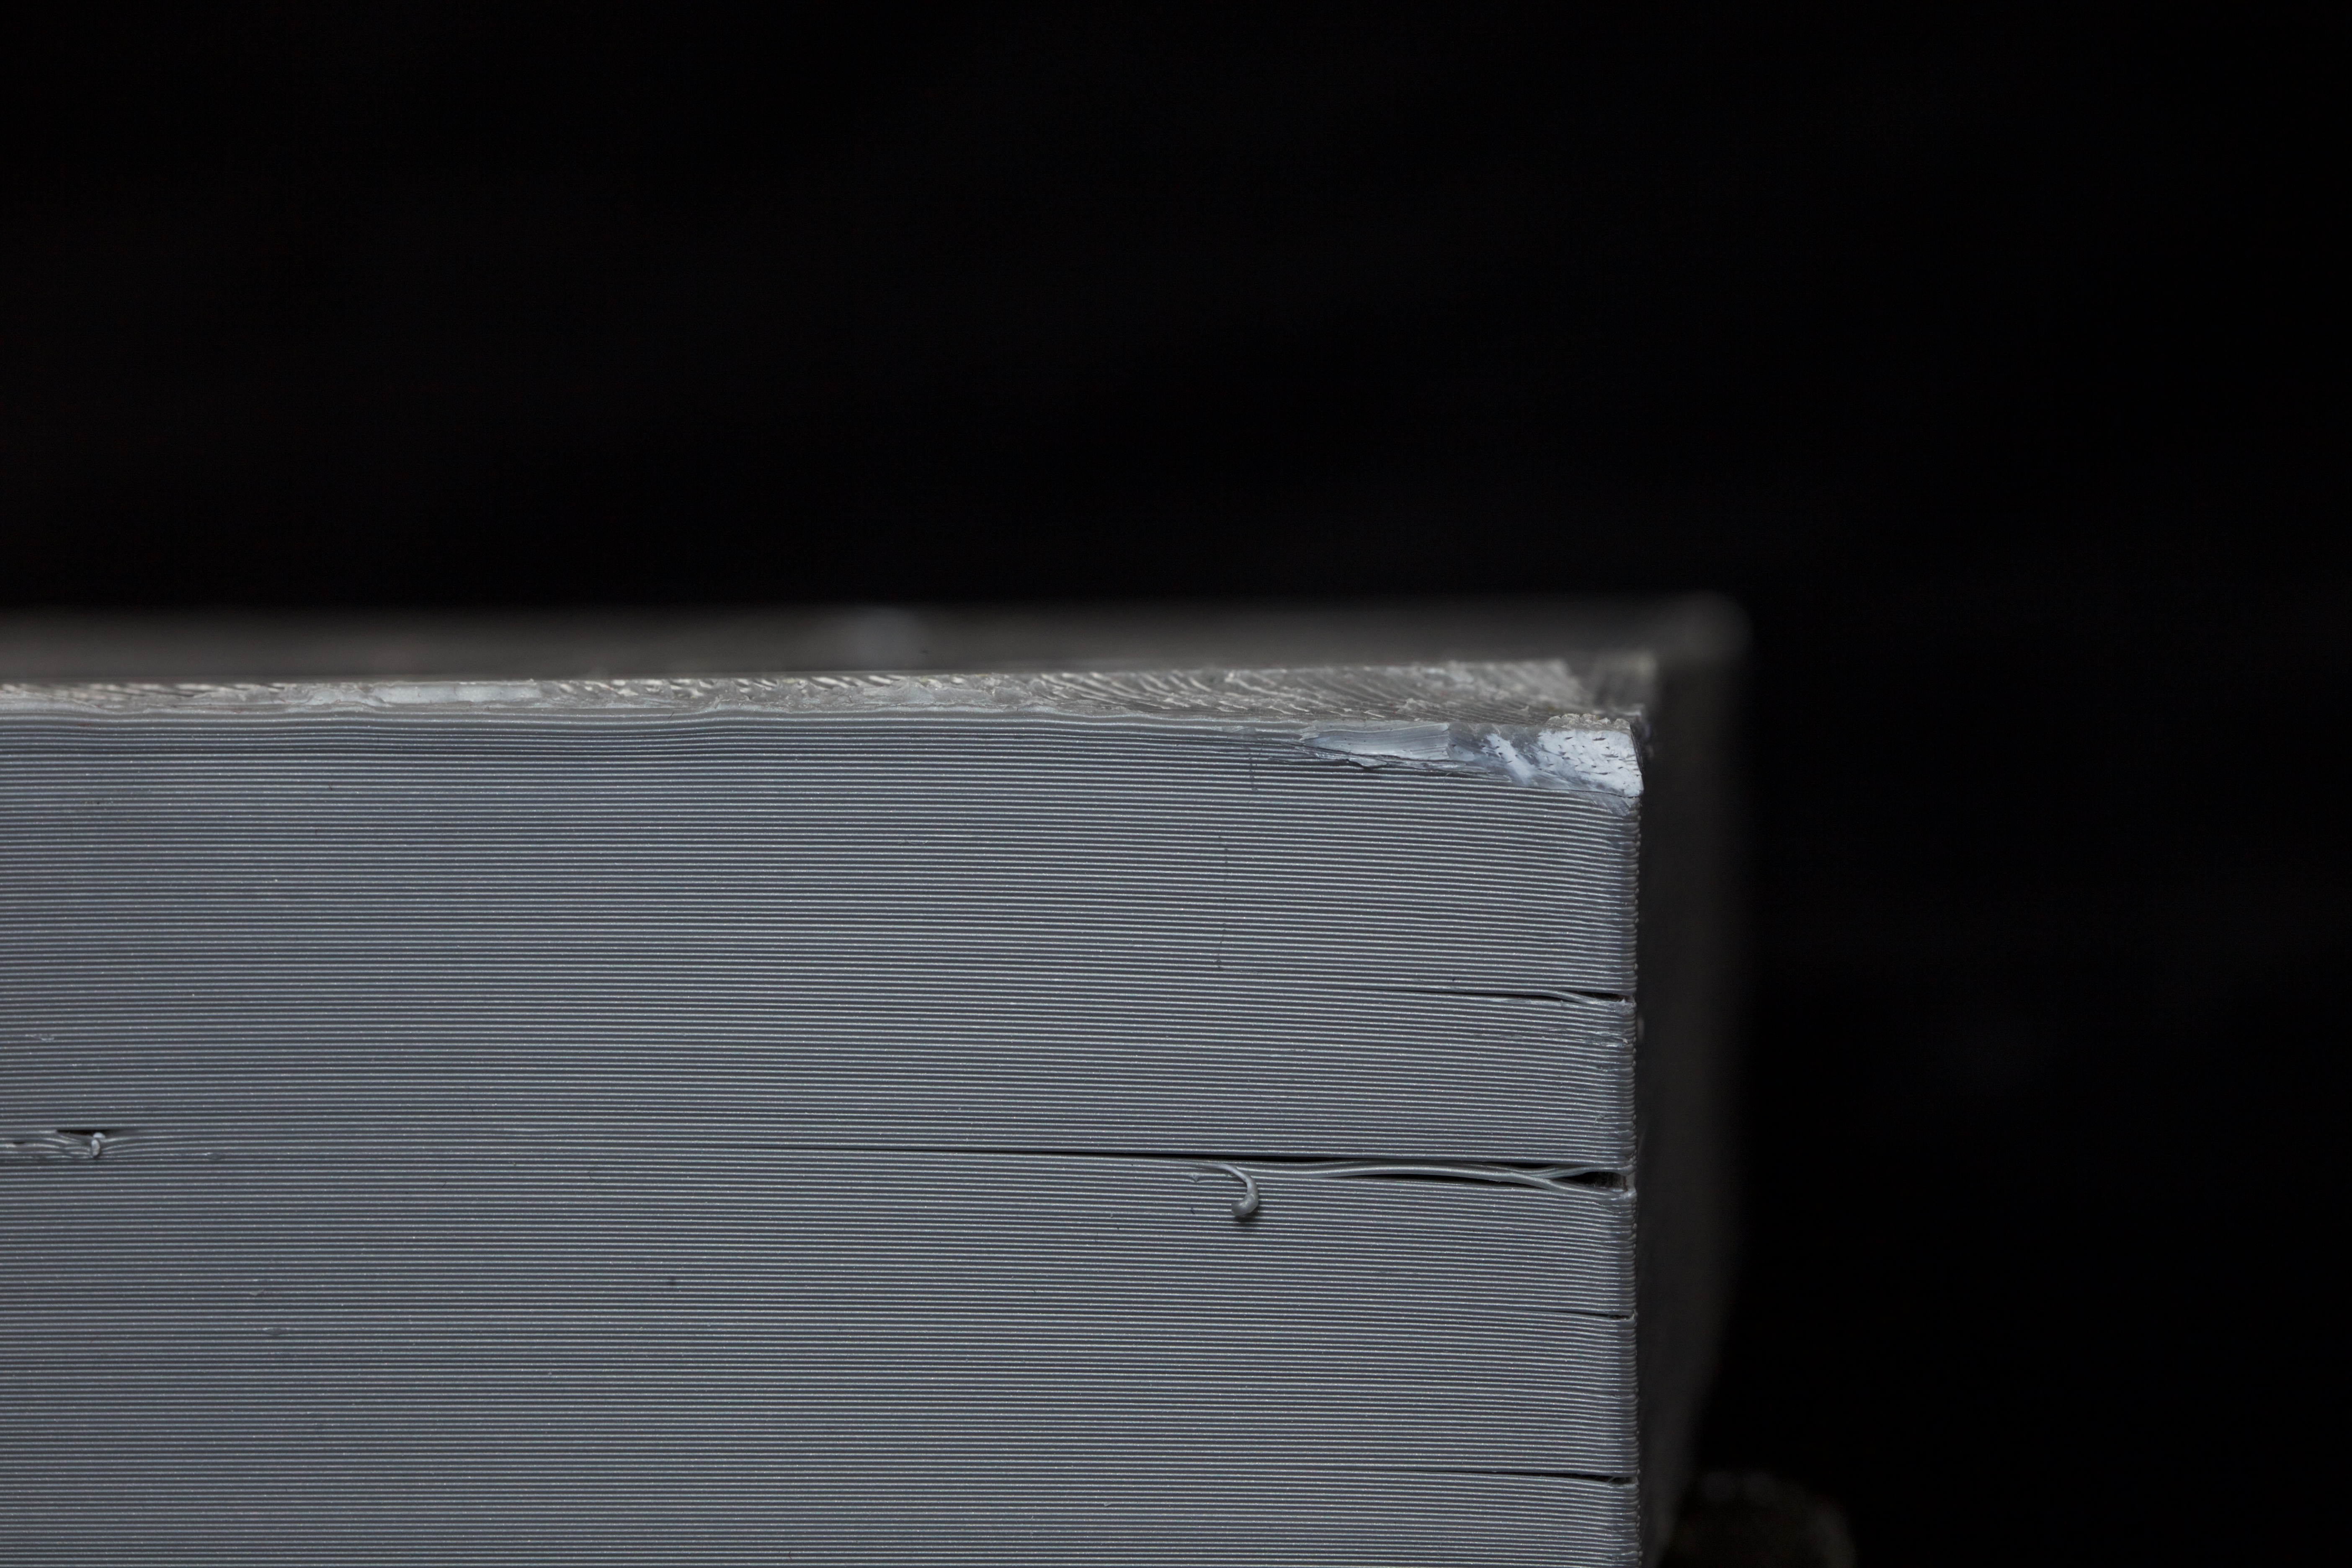
To begin with, avoid using ABS. The box itself is way too tall to get a successful print unless you have an exceptionally good printer with appropriate climate control. On my Lulzbot Taz 6, I attempted to print the box six times with ABS without a single good print. The pictures below show the best result I got from the half-dozen prints:
High-resolution image shot with a Canon EOS 5D MII with focus stacking
High-resolution image shot with a Canon EOS 5D MII with focus stacking
High-resolution image shot with a Canon EOS 5D MII with focus stacking
High-resolution image shot with a Canon EOS 5D MII
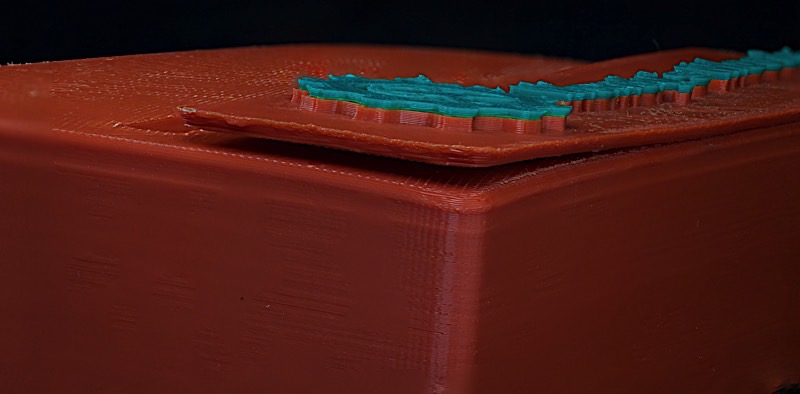
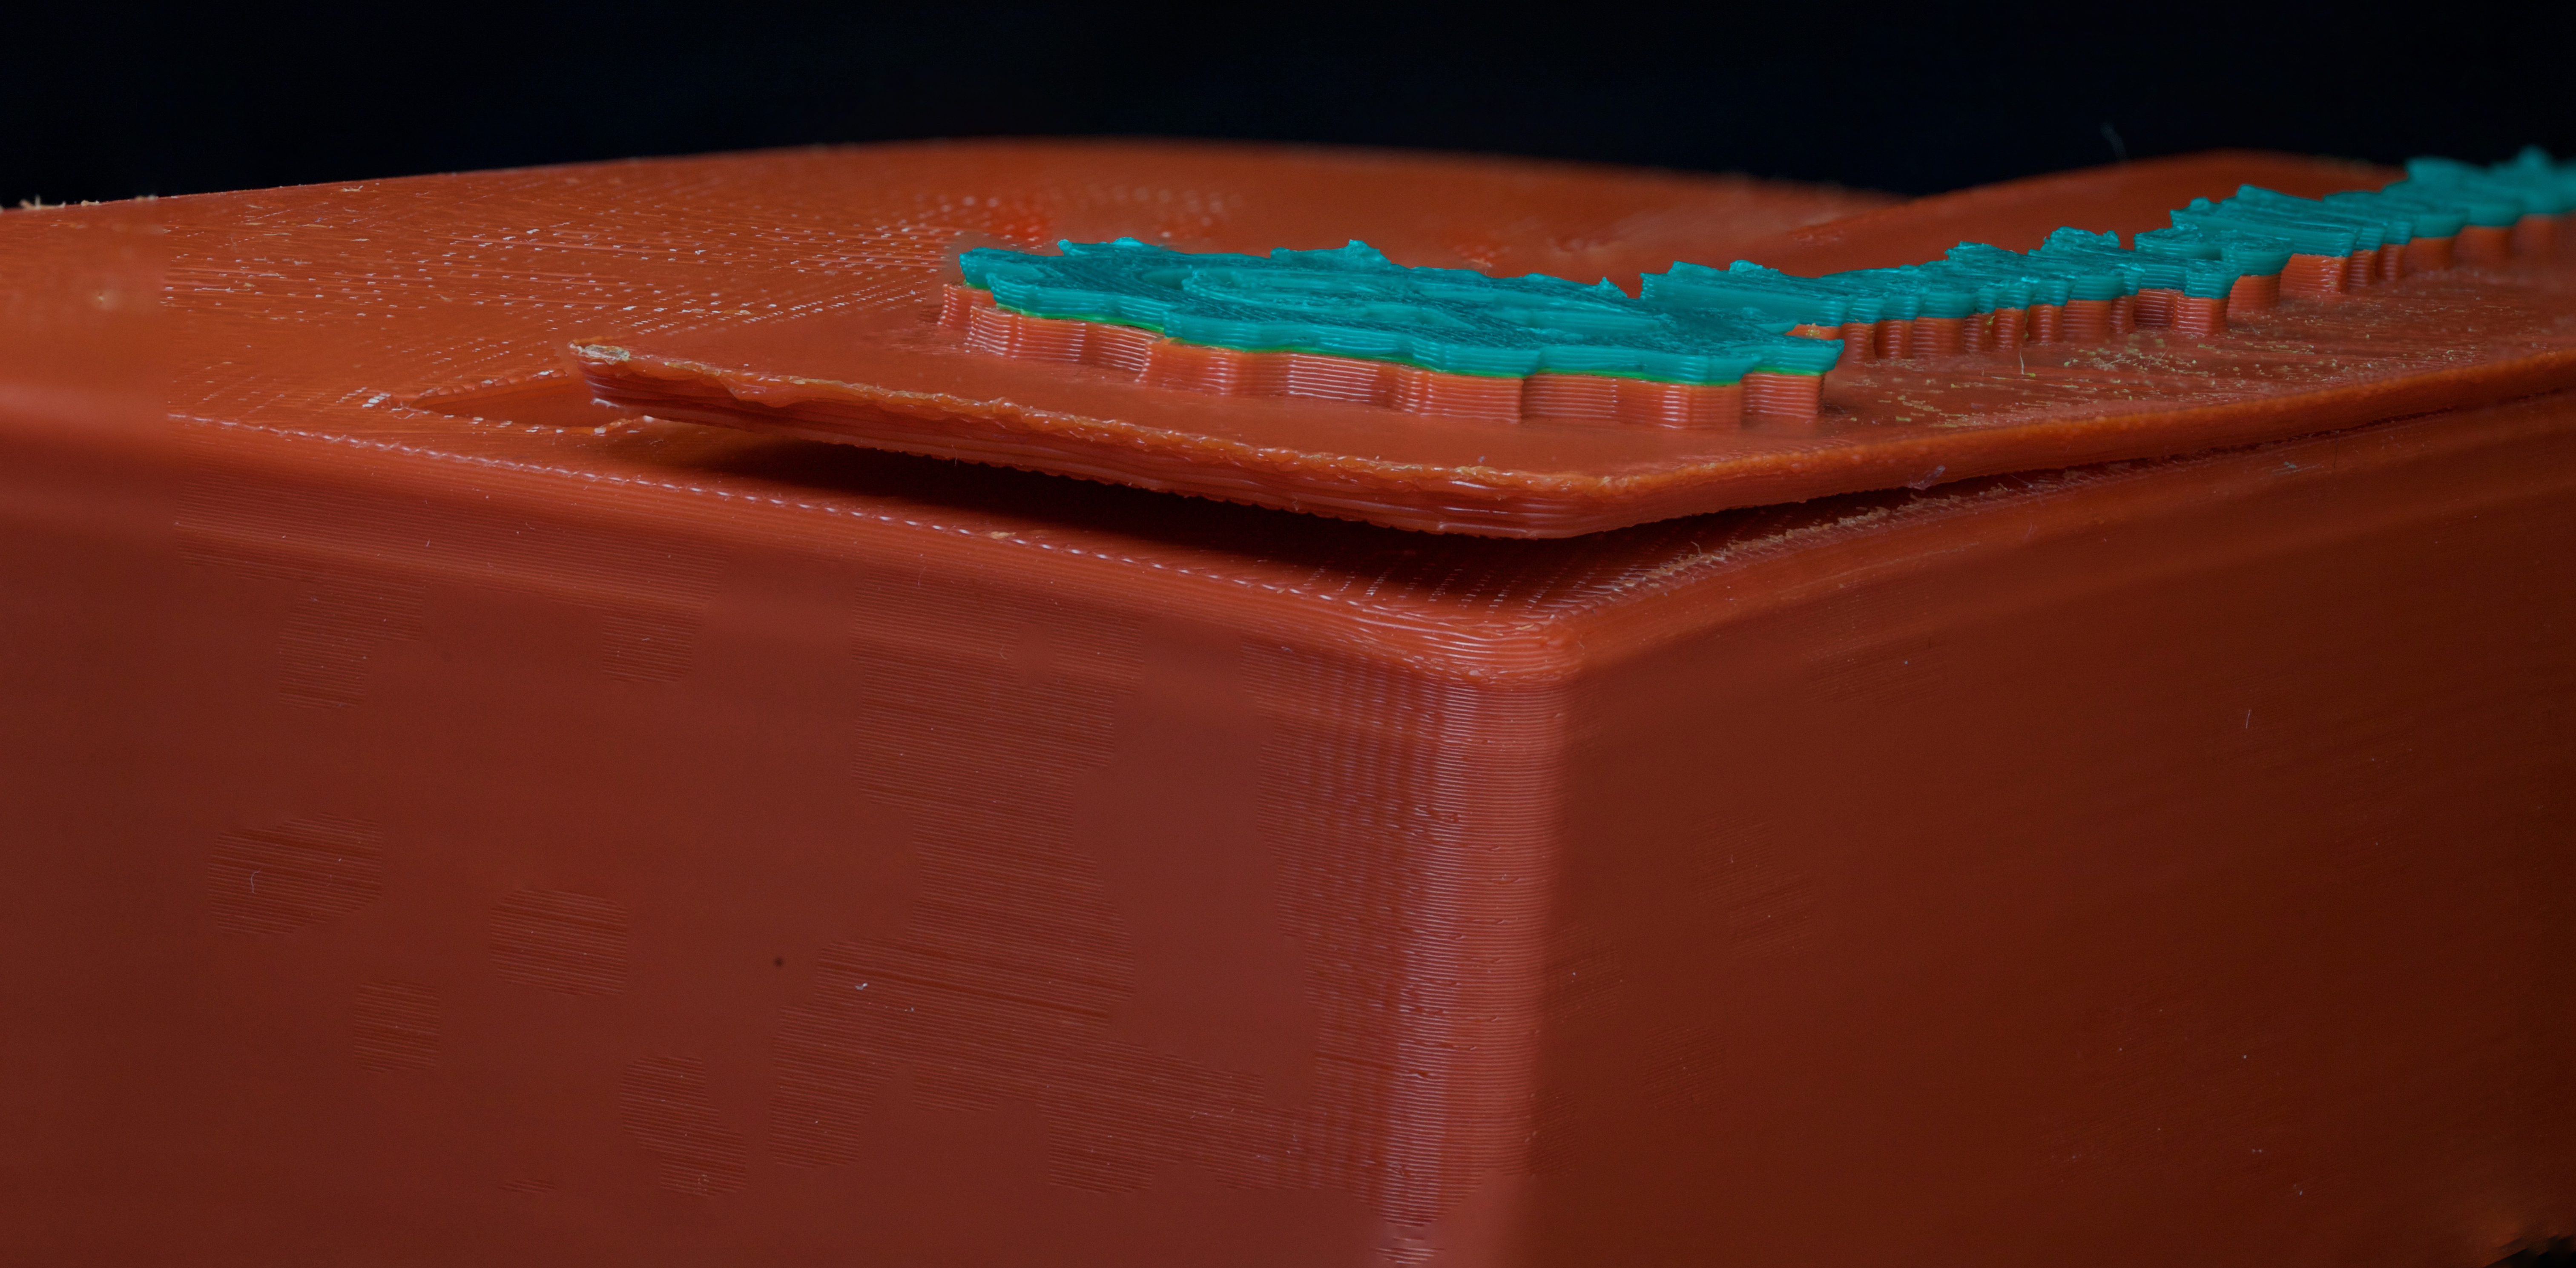
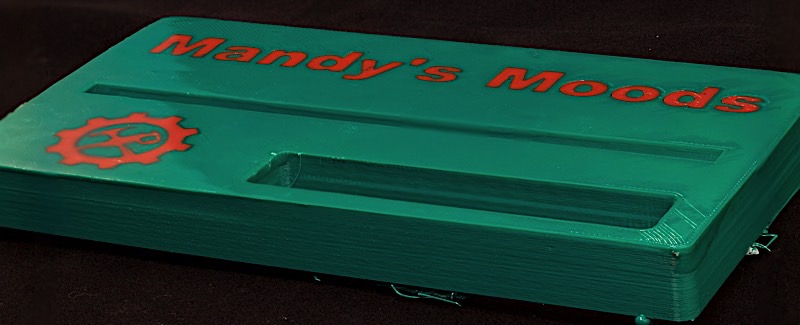
I tried printing Mandy's Moods about a half-dozen times with different settings and on different printers. Even the best print I got still looked bad when the unit was assembled. (Note: the box below was printed on a Flash Forge Creator V Pro at Vocademy with a heated bed and an enclosed build chamber; the heads weren't aligned properly, hence the shift in the green plastic. I didn't bother printing a corrected version as the whole print was a fail, due to the warpage.)
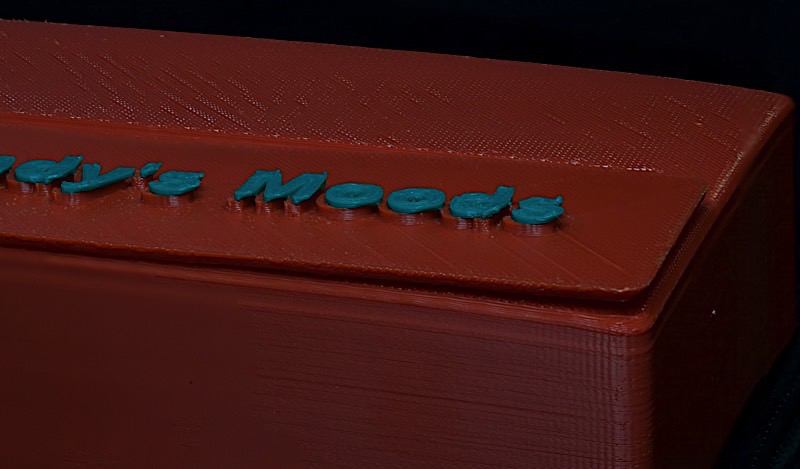
High-resolution image shot with a Canon EOS 5D MII
 High-resolution image shot with a Canon EOS 5D MII
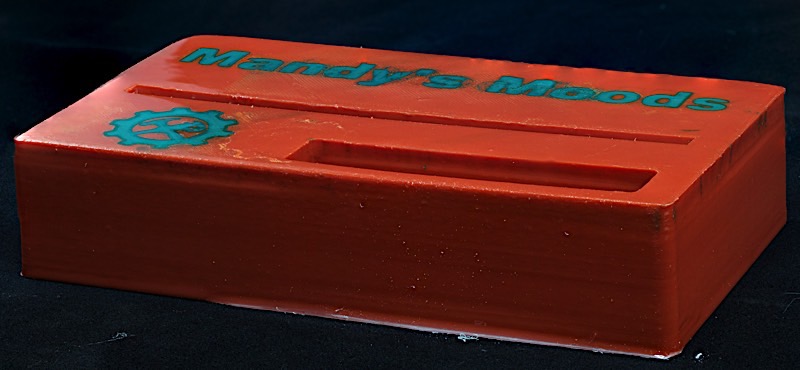
PETG or PLA is a much better choice for this project if you want the box to come out reasonable. Here's a version I printed at Vocademy using PLA on a Flash Forge Creator V:
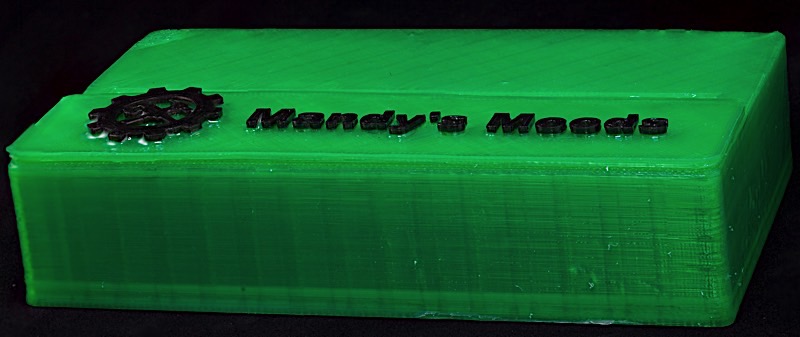 High-resolution image shot with a Canon EOS 5D MII
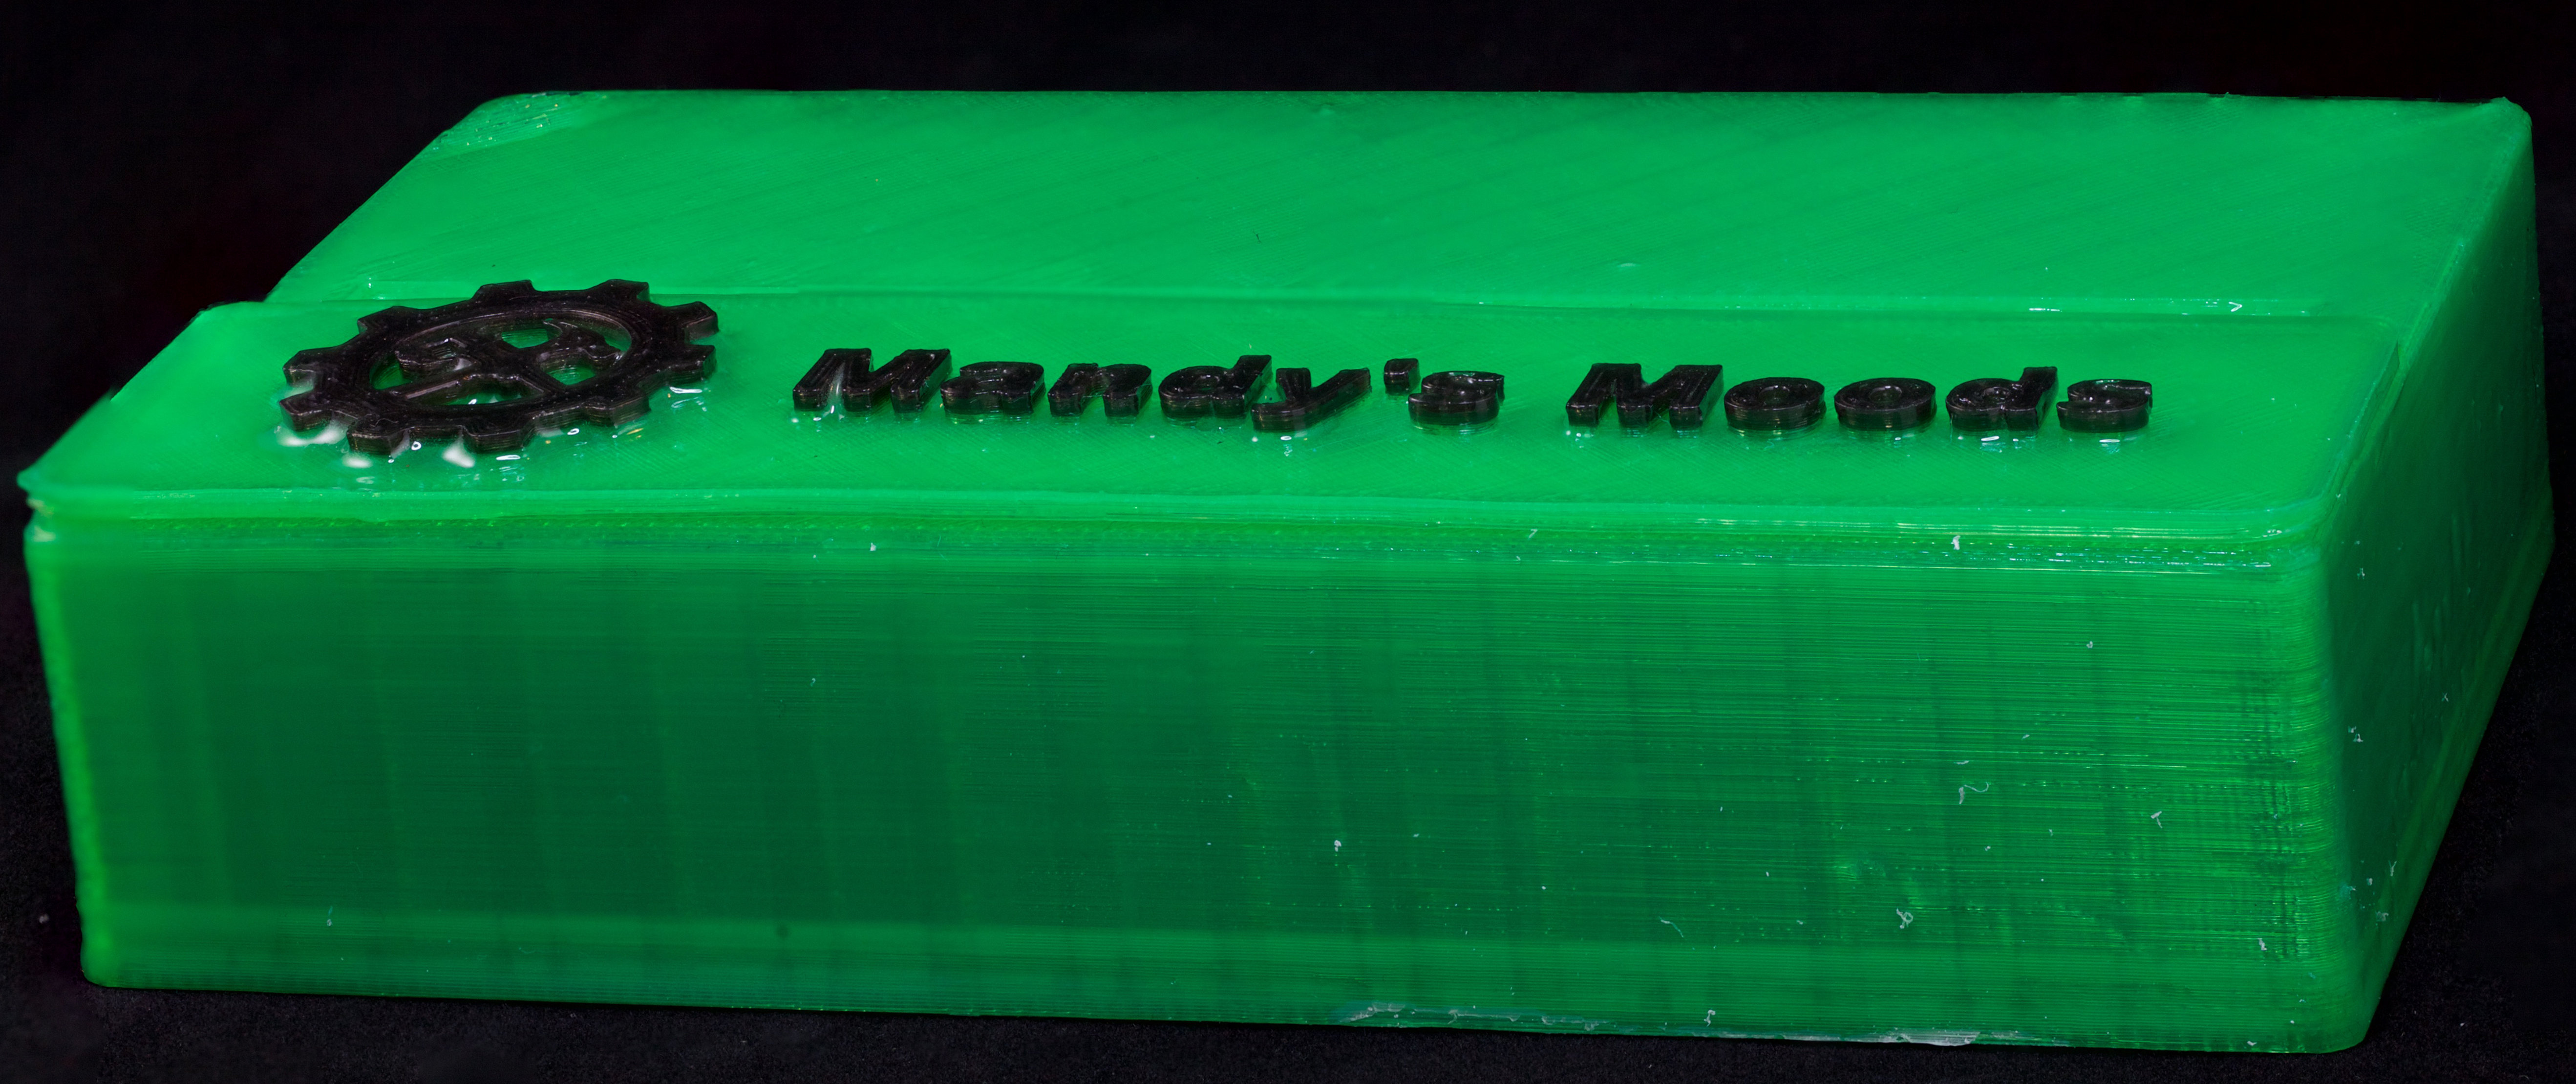
As you can see, there is almost no warping and delamination (splitting). This particular unit has a coating of XTC-3D (a resin) on it, which is responsible for the shine (especially visible near the black embossed parts).
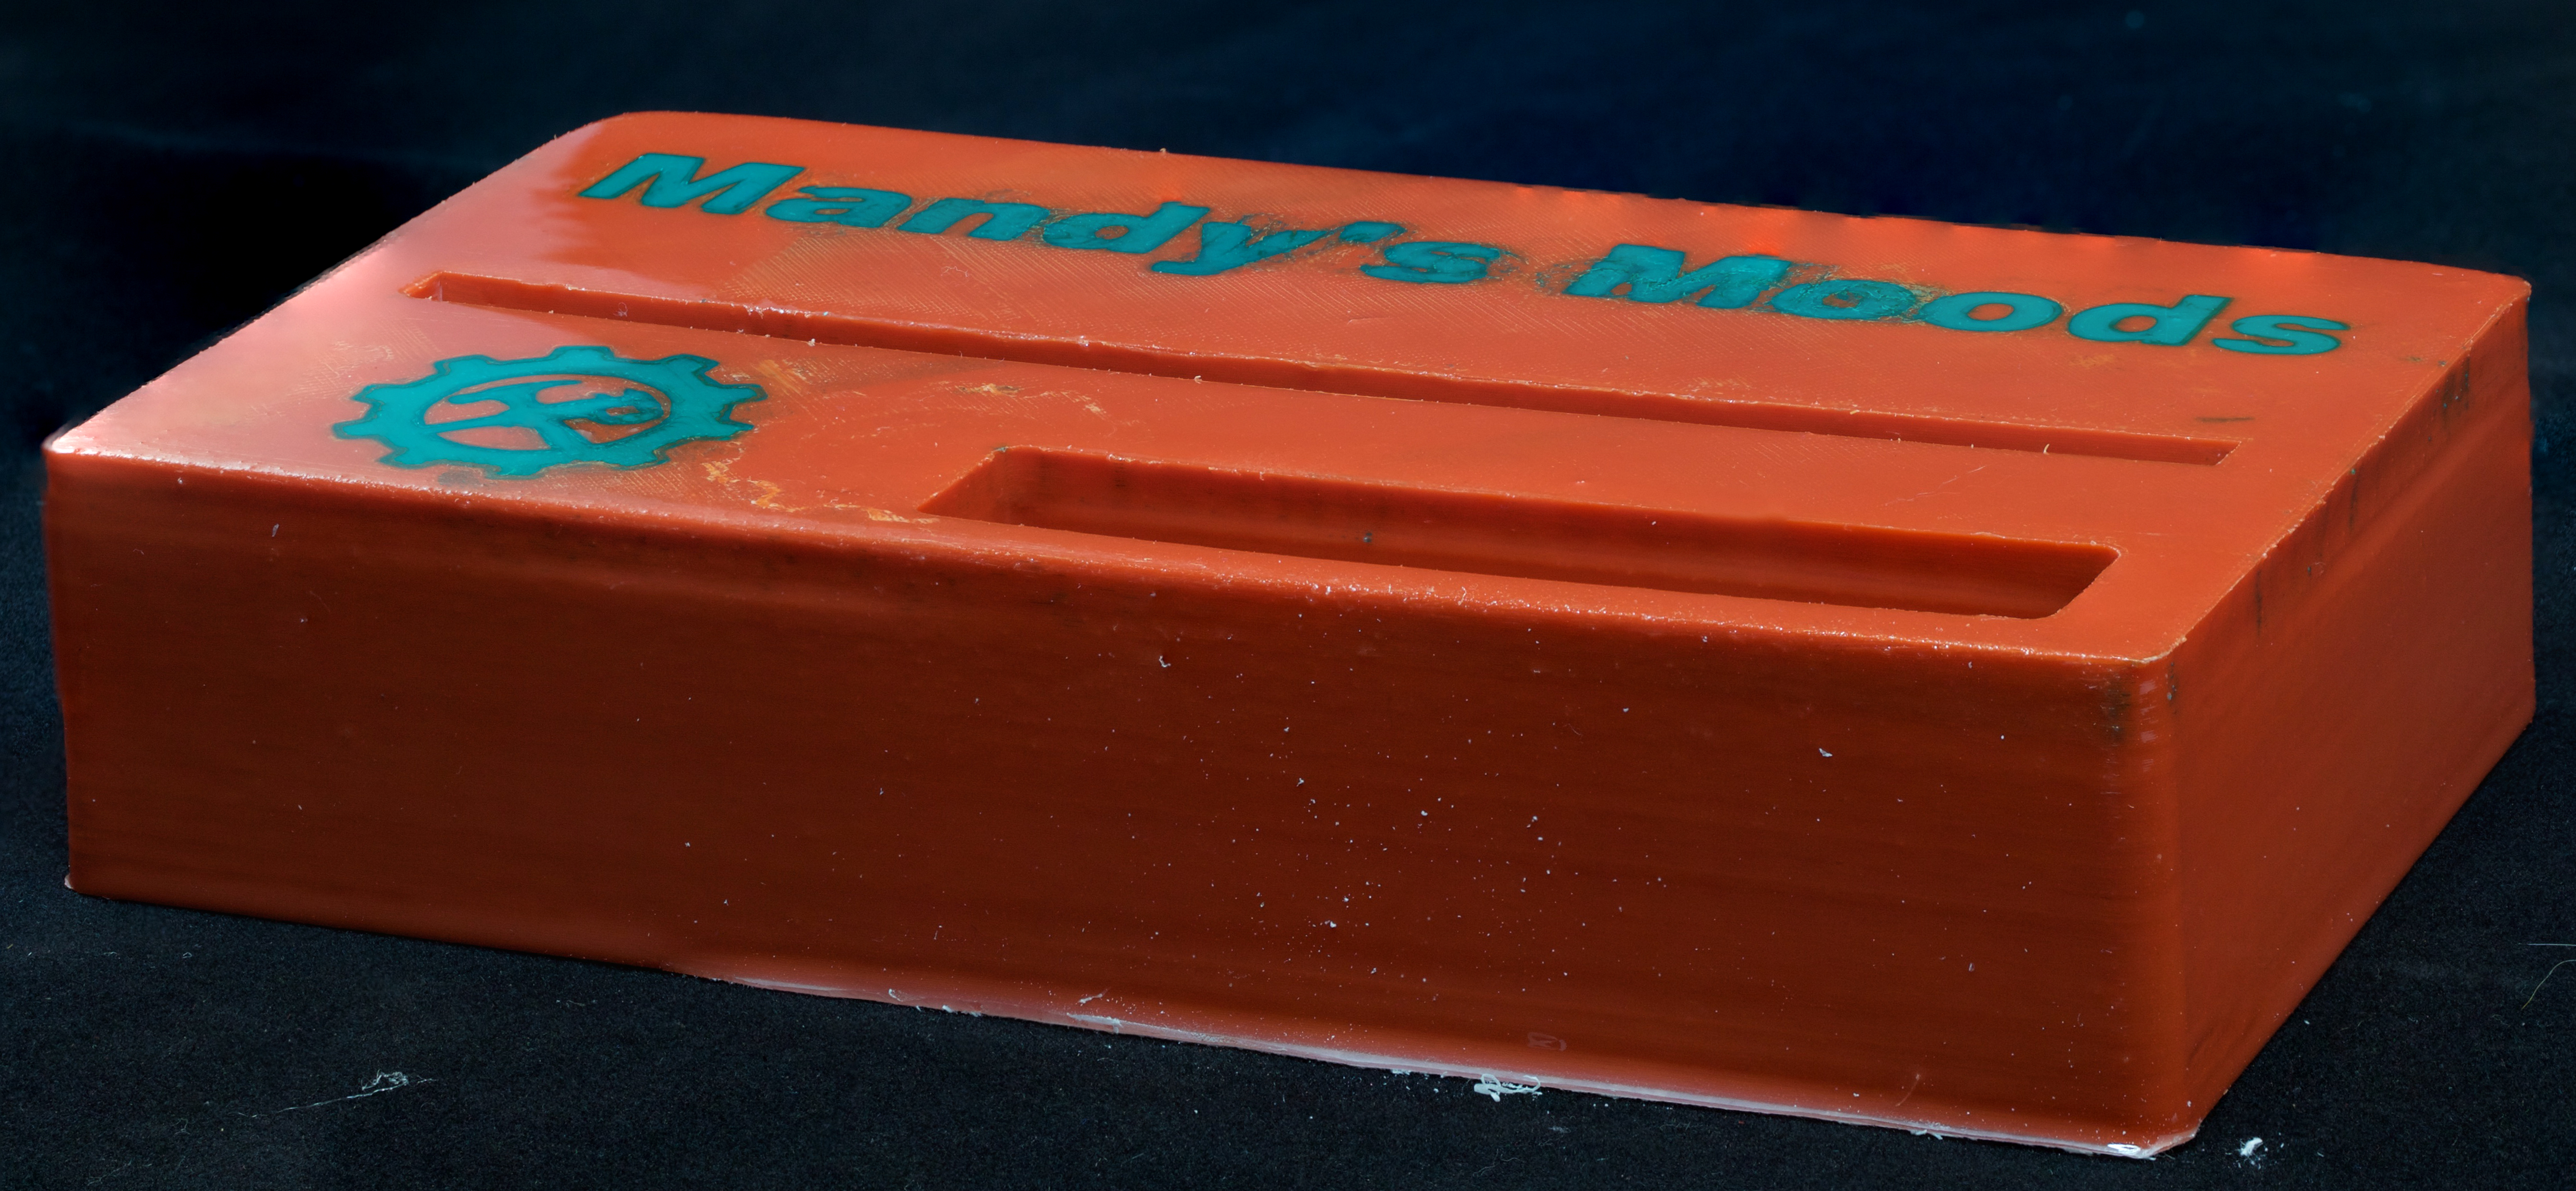
Here's a version (with the optional business card holder) I printed at home on a Lulzbot Taz 6 printer; note that absolutely no post processing was done on this unit.
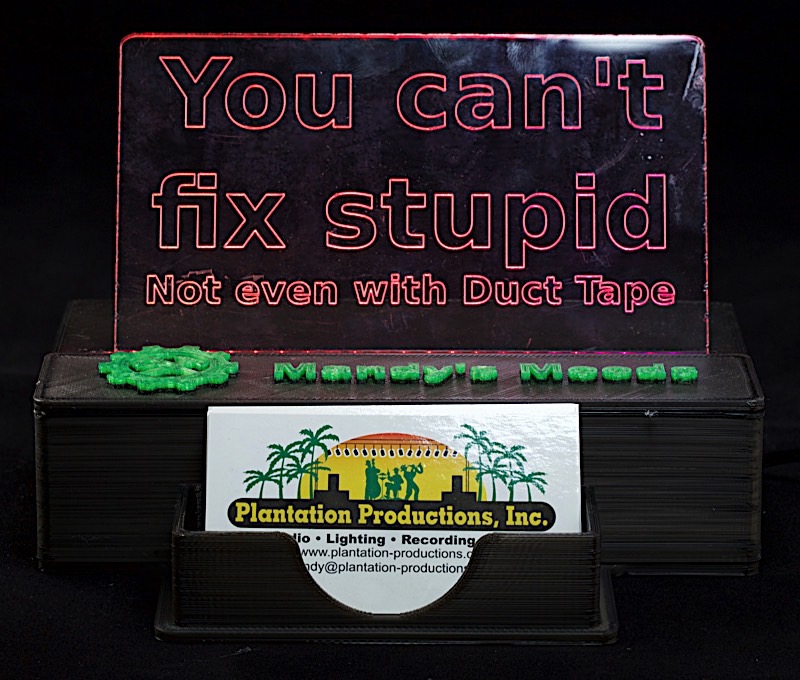 High-resolution image shot with a Canon EOS 5D MII
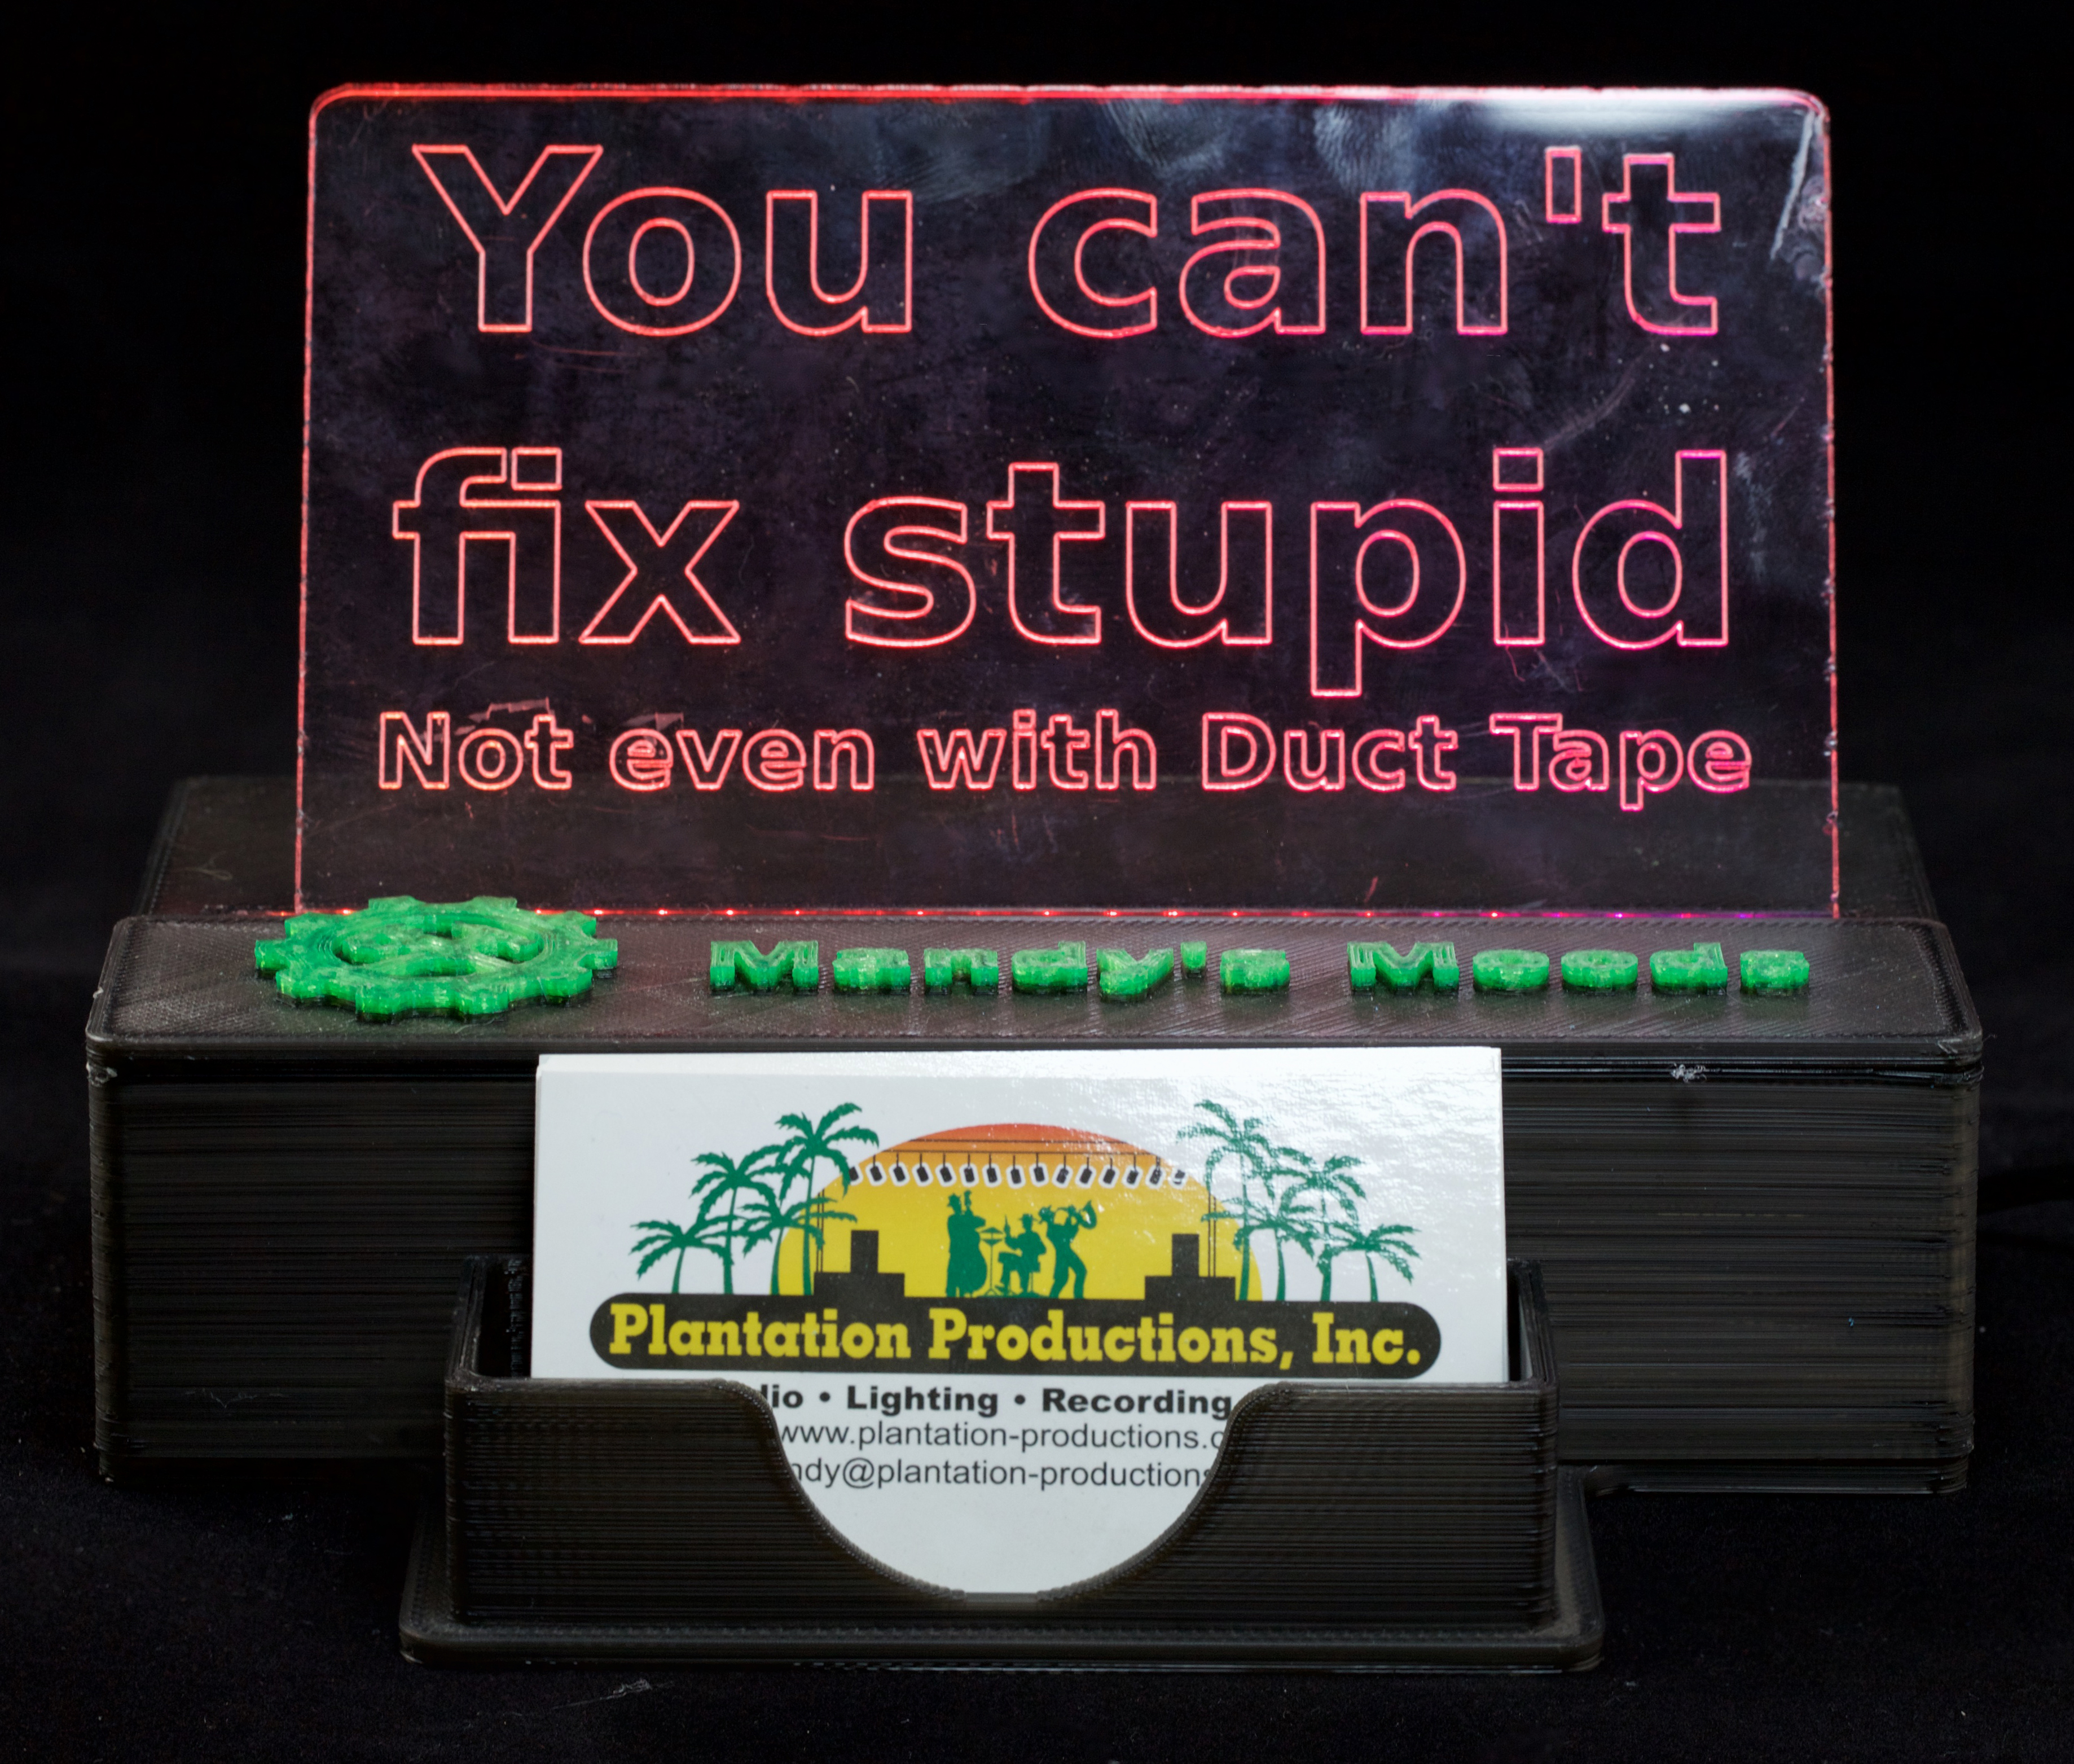
In the above example, I produced the two color print with only a single extruder. Using Simplify 3D I determined the layer where the printer began printing the embossed letters and I programmed the Taz 6 to stop and wait for a filament change at that layer. When the printer stopped (somewhere around 16 hours into the print) I swapped out the transparent black PLA filament for transparent green.
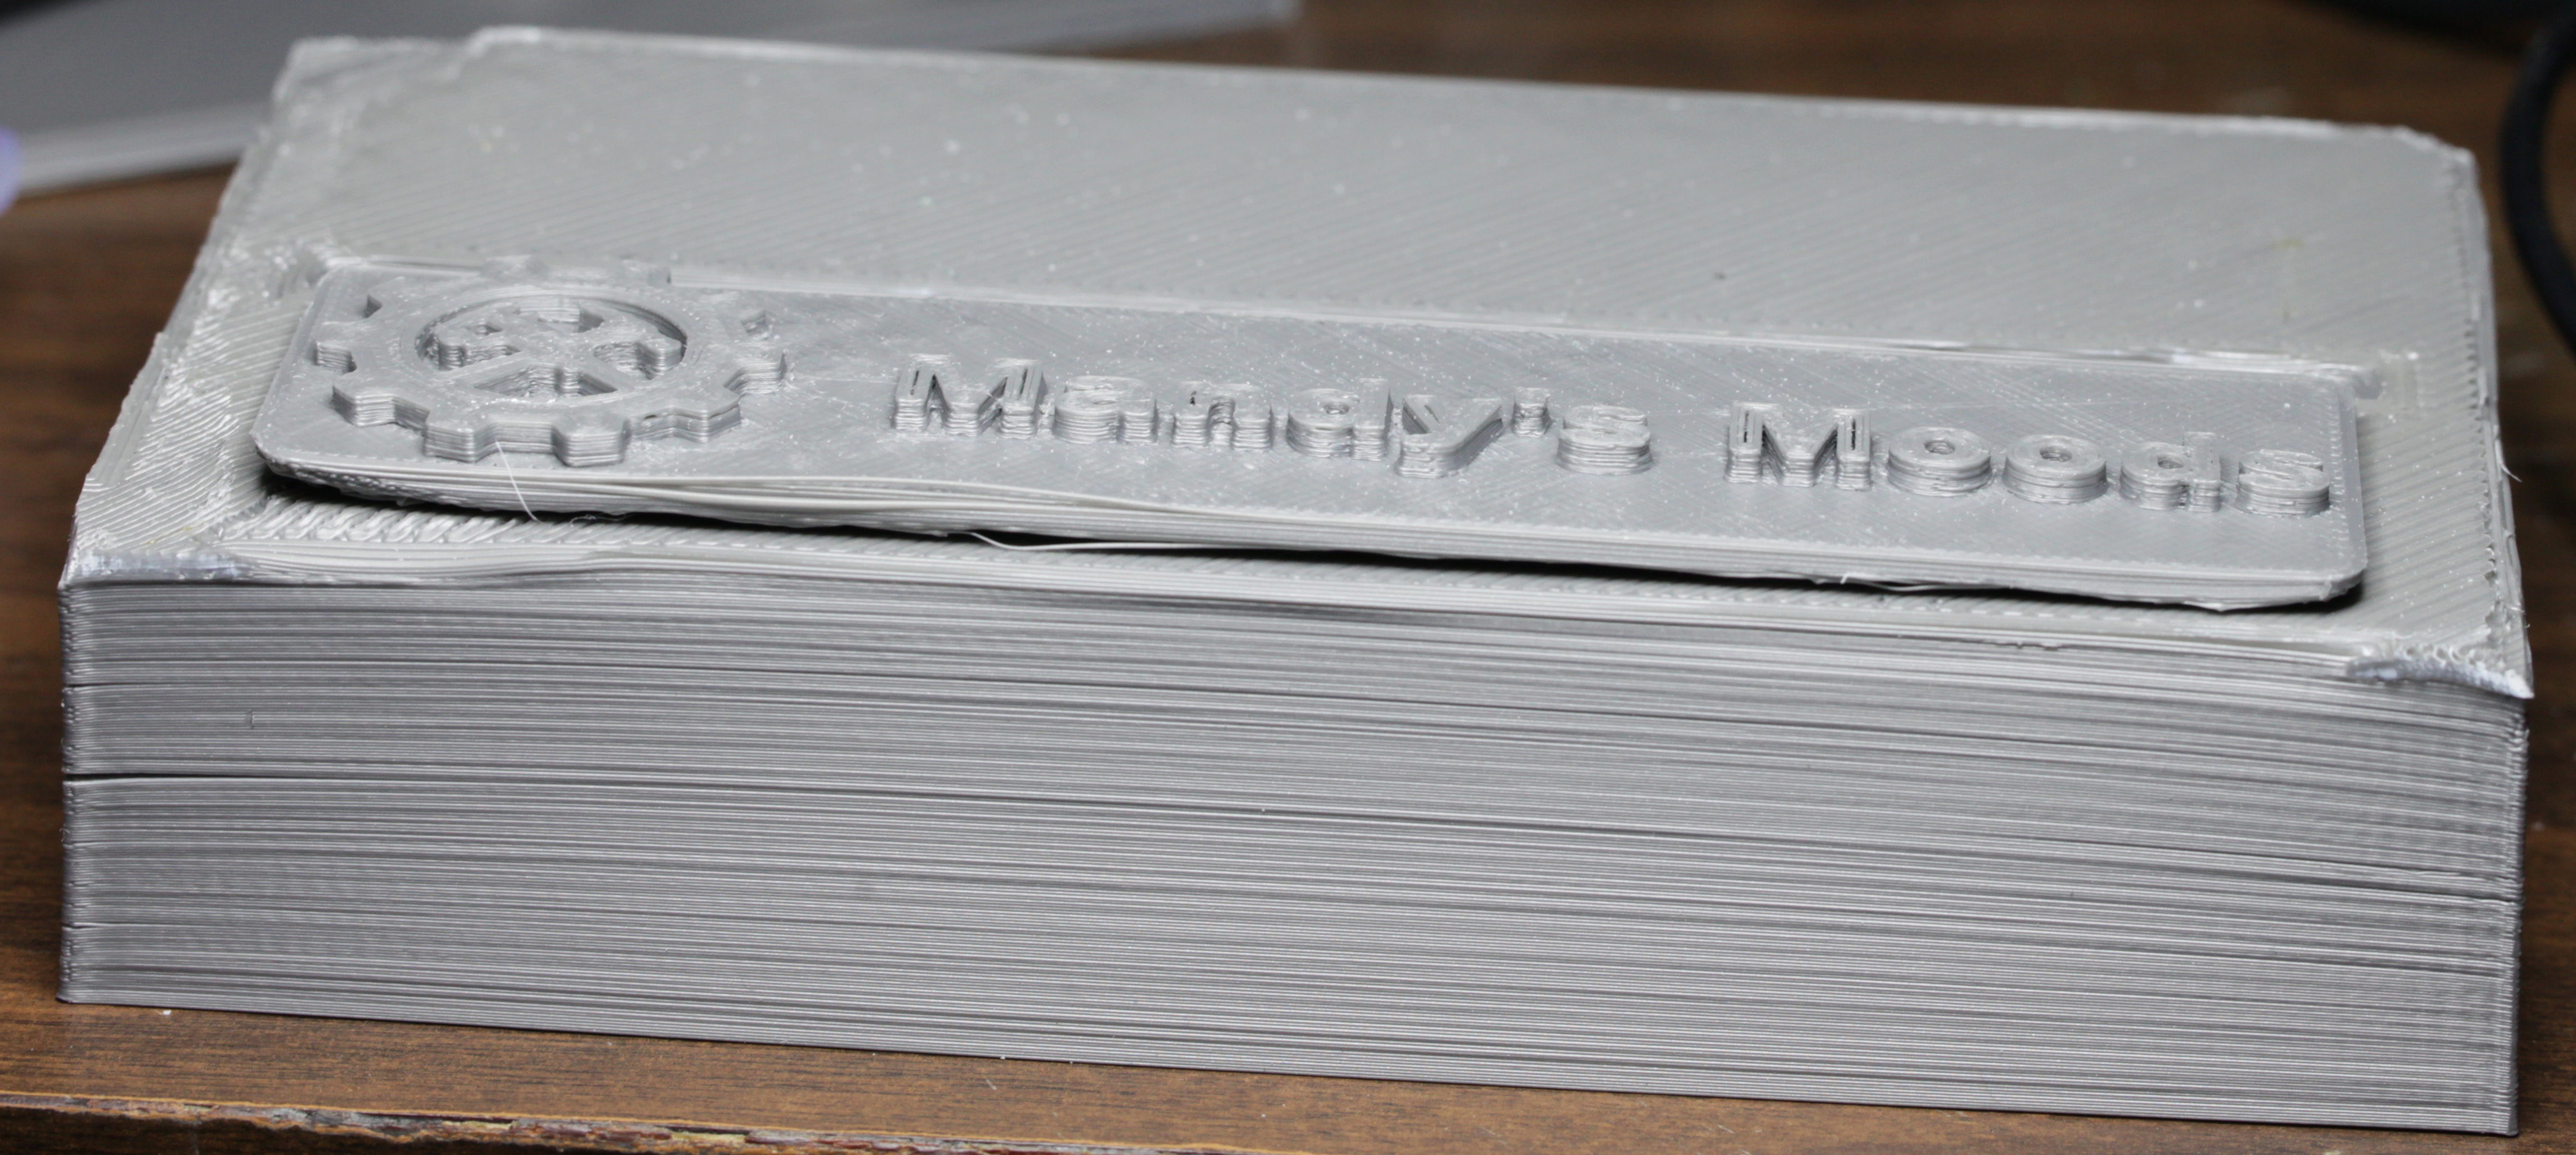
As the Flash Forge Creator V Pro printer has dual extruders, I also experimented around with a dual color version of Mandy's Moods that has the lettering and graphics embedded in the body of the box itself. Alas, I only had one color of 1.75mm PLA (I normally purchase 3mm filament for my Taz 6; I only had one spool of 1.75 mm PLA for testing purposes on the Flash Forge), so I was unable to print the two color version in PLA. I did have two different ABS colors, so I made a couple test prints using ABS. As in turns out, because I not gluing a separate name plate on the top of the Mandy's Moods box, the resultant warping wasn't quite as objectionable.
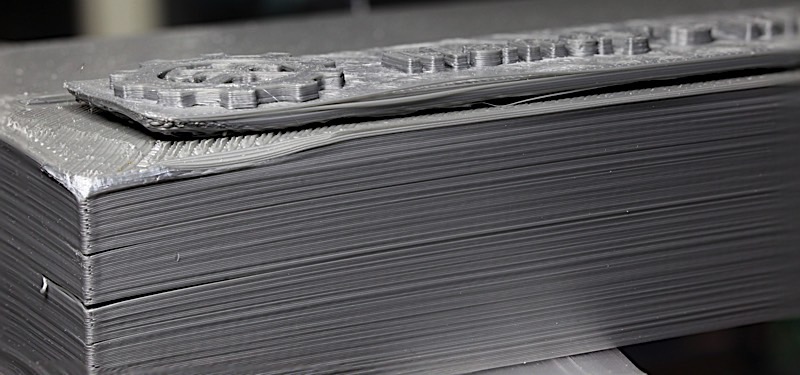
I did my first print using a PrintInZ "zebra plate". The printer had a brain-freeze about half-way through the print and the print failed, but as you can see the top of the box (which was printed on the zebra plate as the box was printed upside down to minimize support material) looks really good. As you can see on the lower-right hand edge, there was some warping; but it wasn't terrible.
 High-resolution image shot with a Canon EOS 5D MII
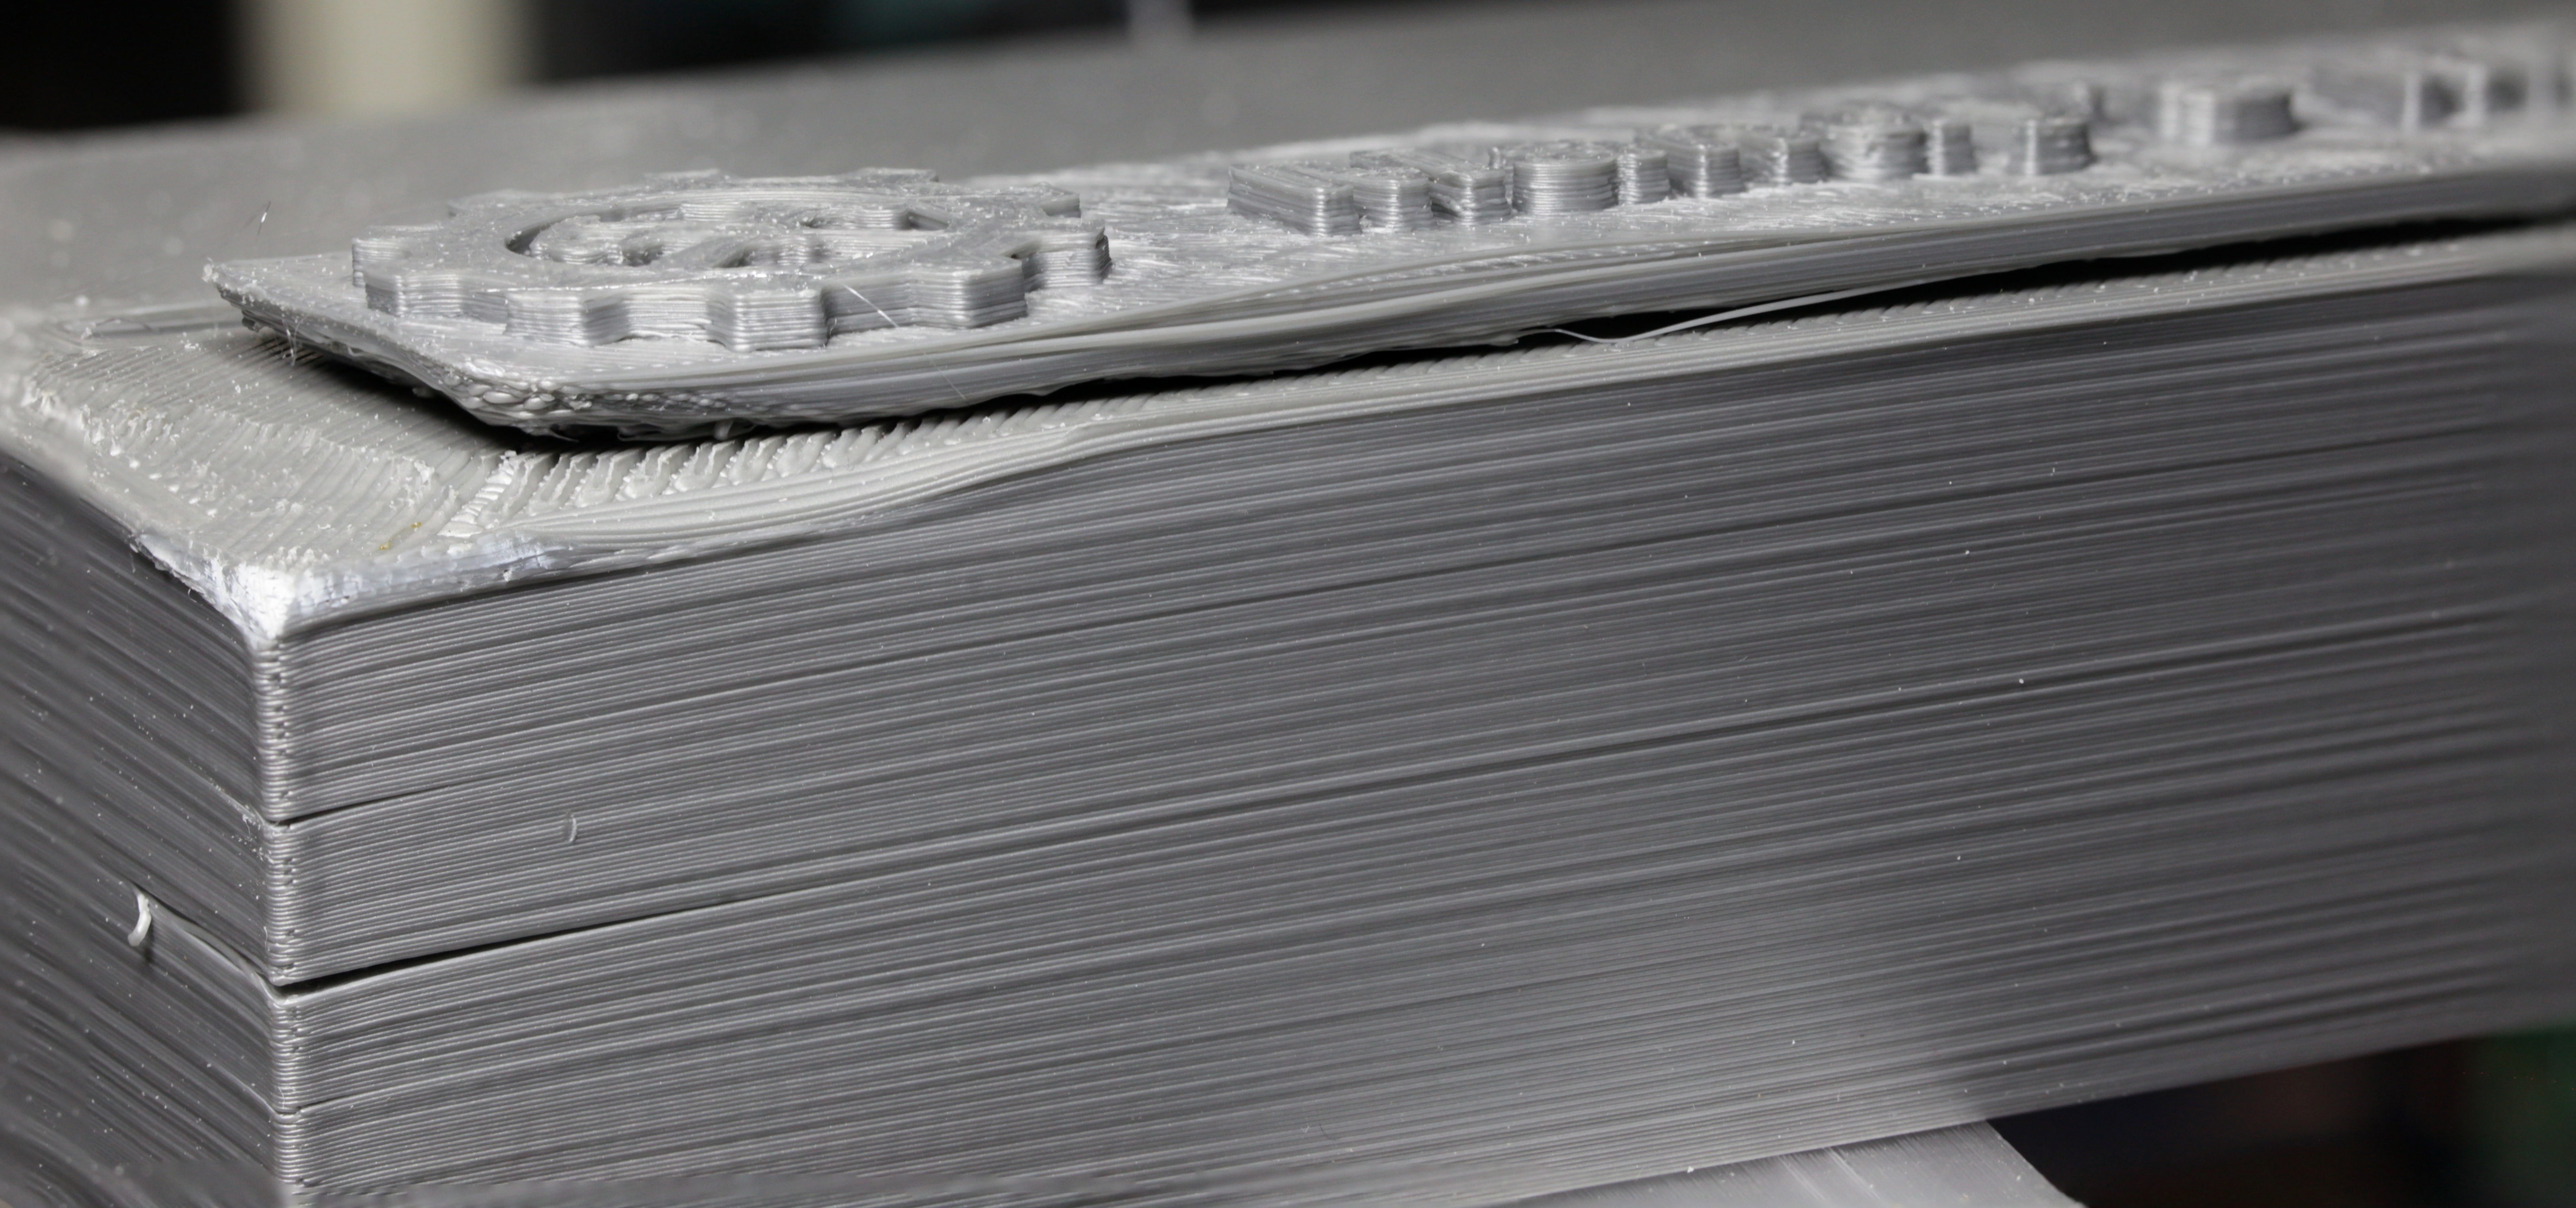
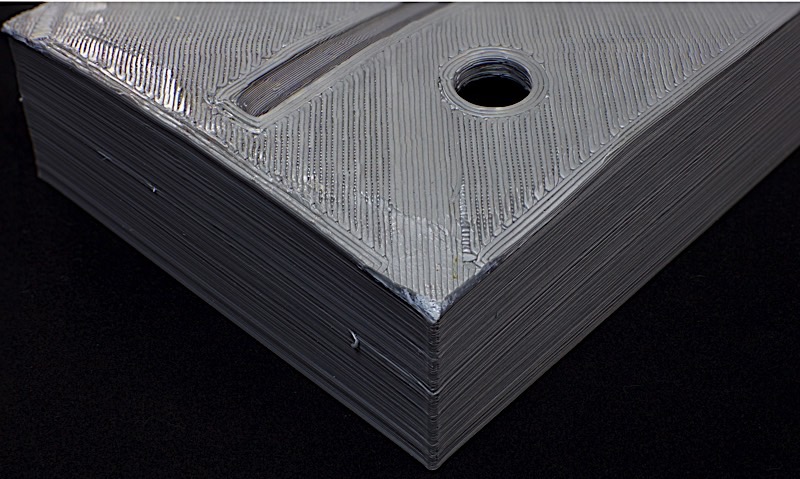
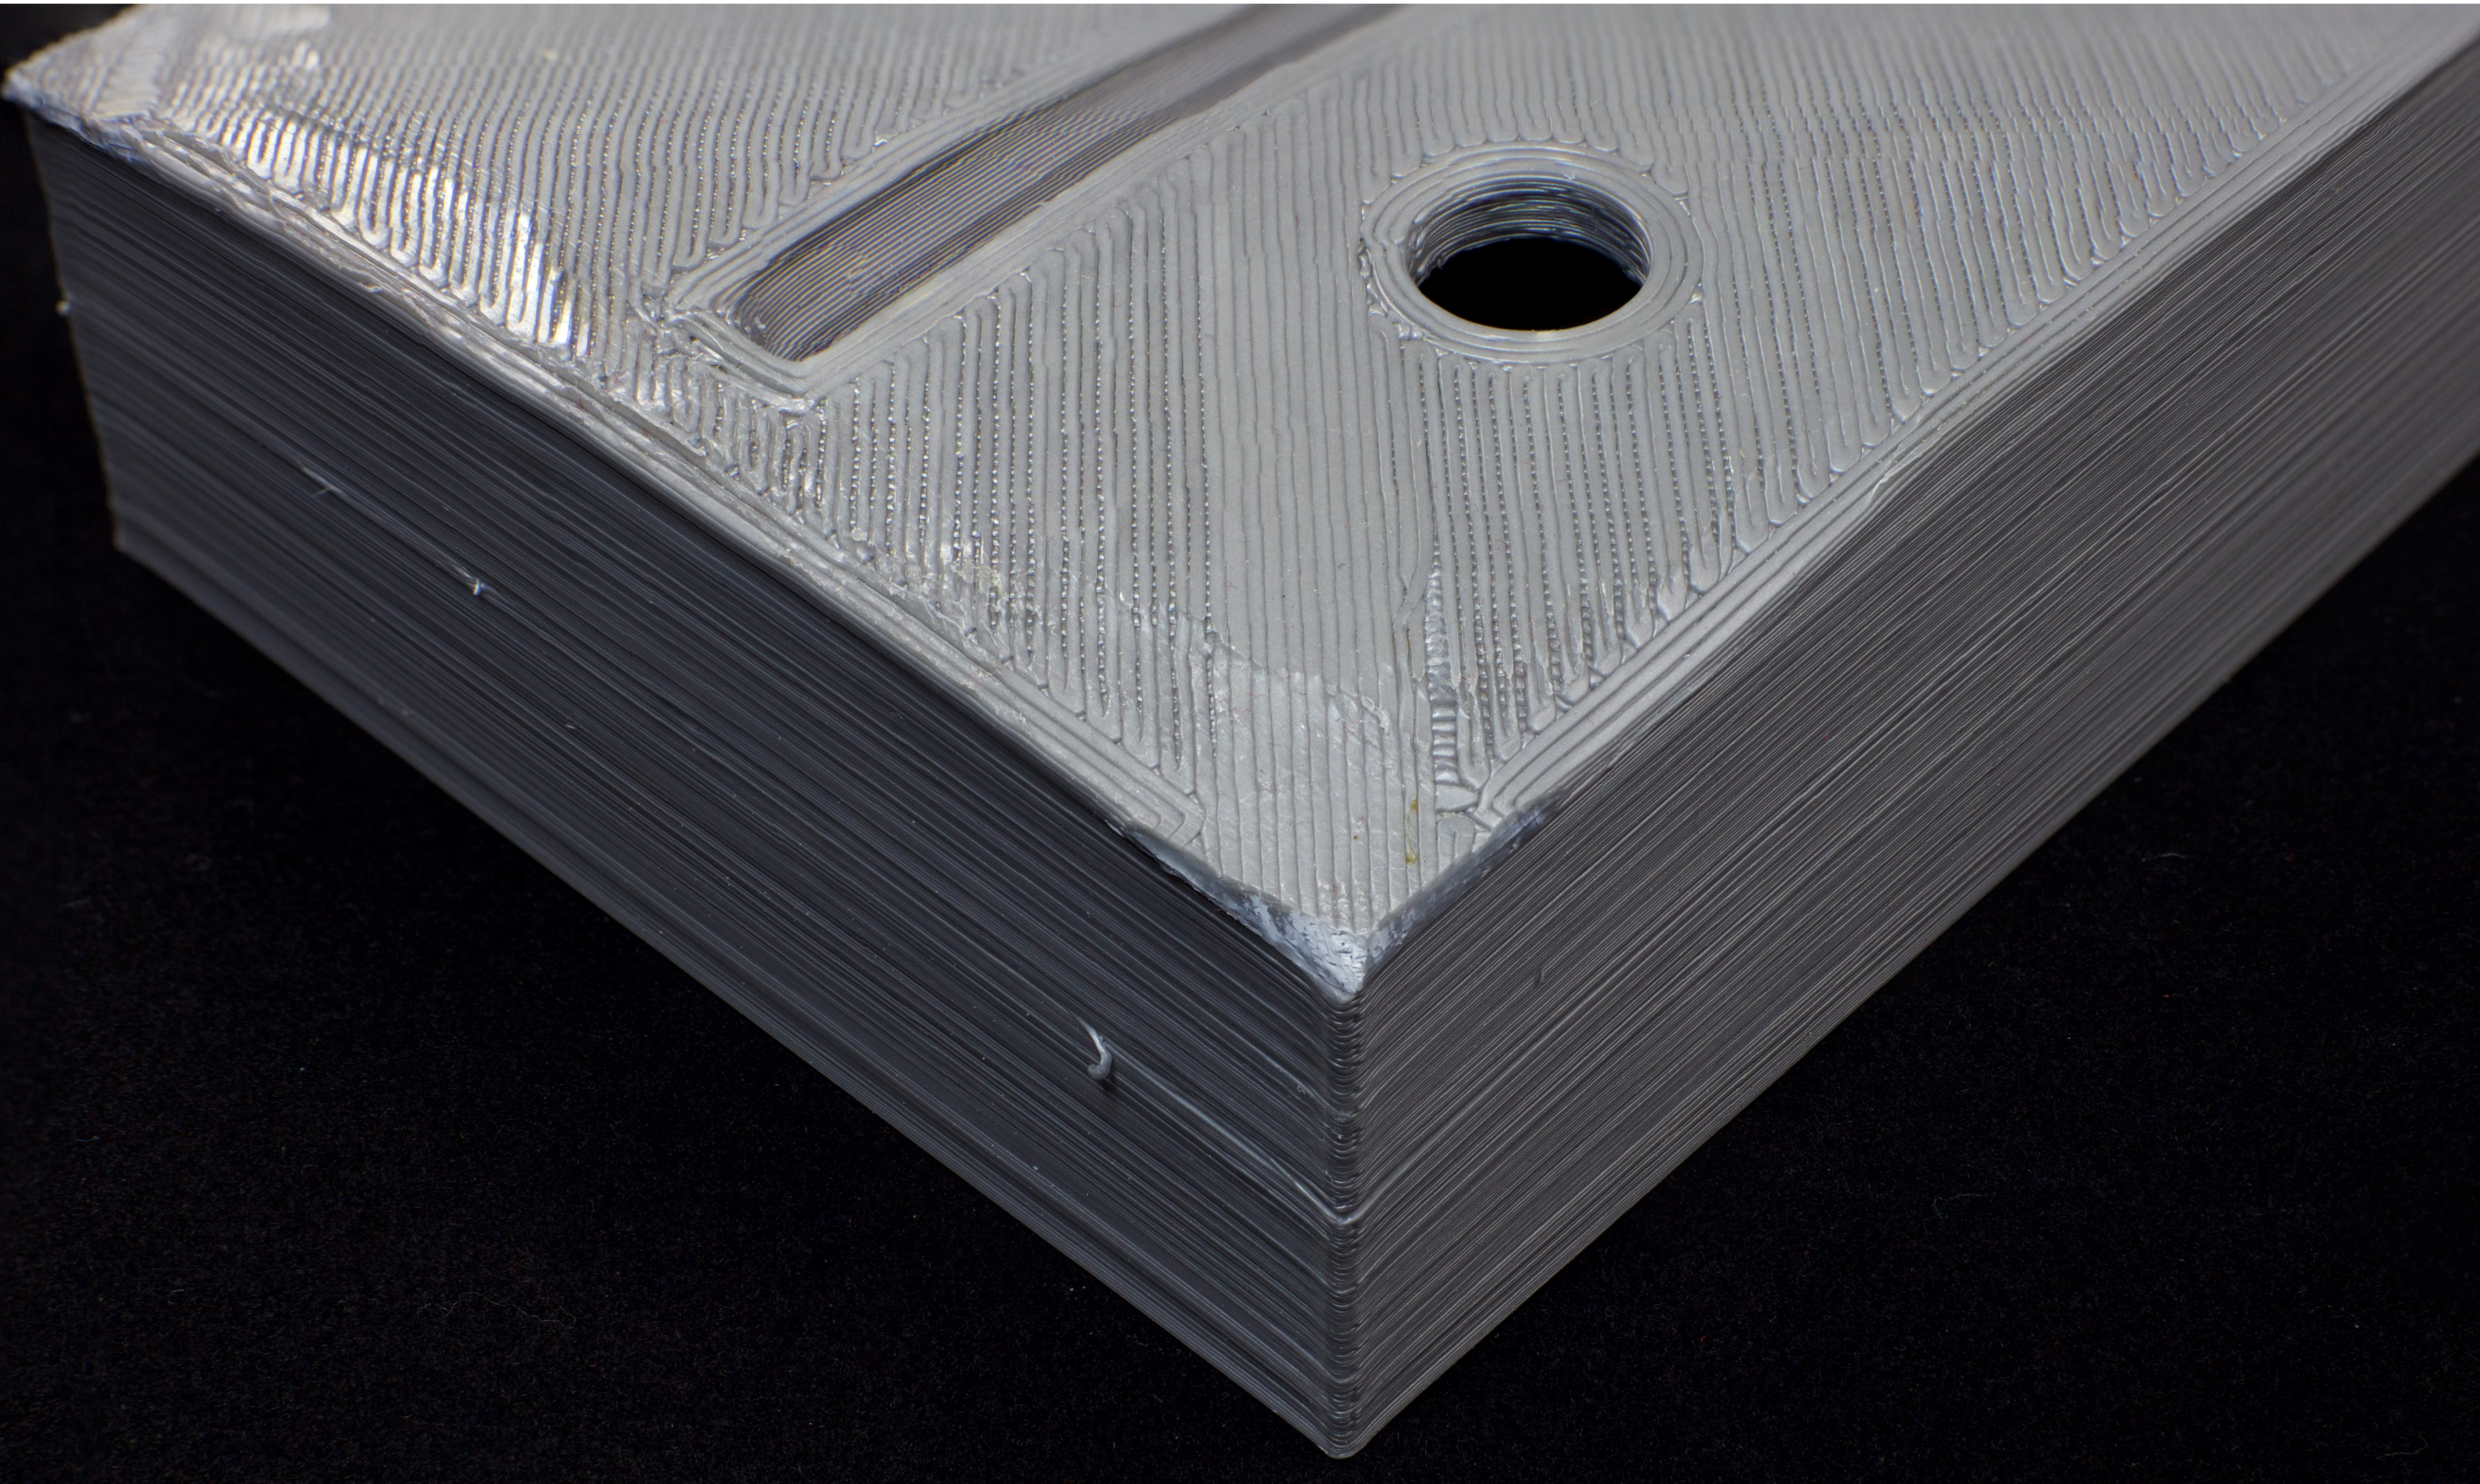
I took my failed print to the staff at Vocademy to notify them of problems with the printer (and to figure out what cause the failure). No real resolution there, but I did get chastised for using the zebra plate. I guess they considered that a "modification to the system" which is not allowed. I explained that I really wanted to print without a raft because you get a better surface finish (and the surface coming off the zebra plate was spectactularly nice). I was worried about getting the part off the (nonremoveable) build plate. The staff told me that it was okay to print without a raft on the build plate -- they'd done it many times. So I printed the second one without a raft directly on the Flash Forge build plate.
 High-resolution image shot with a Canon EOS 5D MII
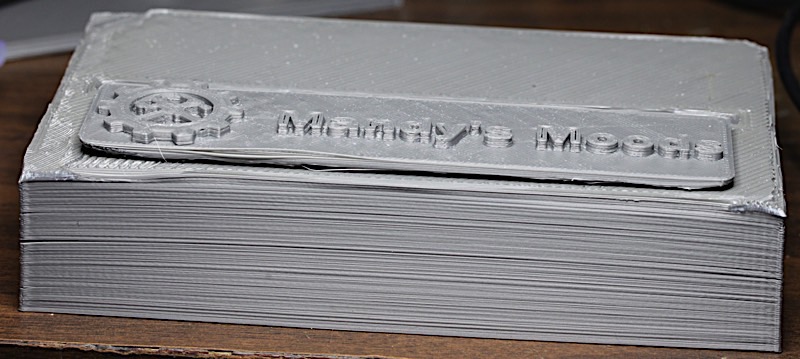
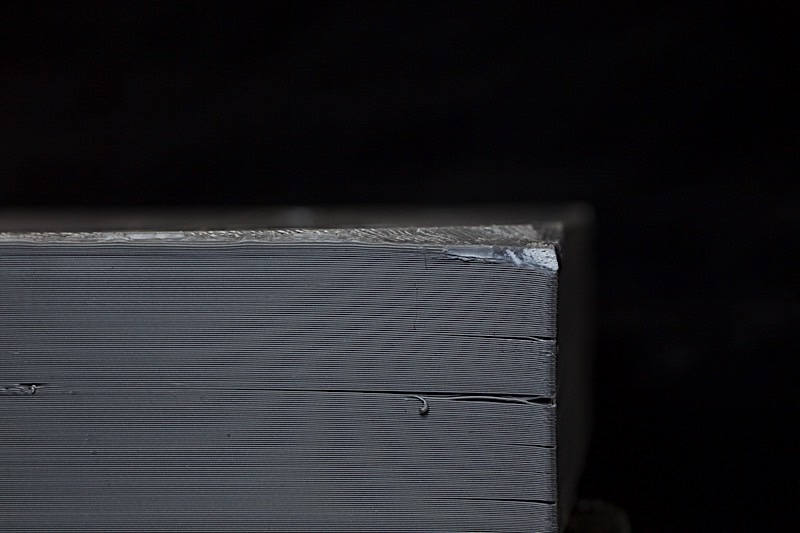
Printing without a raft on the Flash Forge turned out to be a big mistake. Had the box not warped, I would never have been able to get it off the build plate (the warpage provided a small gap into which I could put a putty knife to help separate the part from the build plate). I strongly advise against ever printing without a raft directly on the Flash Forge Creator V Pro; I was extremely concerned I was going to damage the printer or bed while trying to pry the part from the board. By the time I managed to pry the part off the bed, the top surface of the box (which was printed directly on the bed) was so messed up that it was worse than had it been printed on a raft. Indeed, the surface was so bad I had to sand the box down and coat it with XTC-3D in order to get it looking half-way presentable (and I still consider this a failed print). BTW, the "shadow" of the Vocademy logo (the gear graphic) occurred because the right-most extruder nozzle was a little closer to the bed than the left nozzle. As a result, when drawing the outline of the gear with the left nozzle, the right nozzle dug into the ABS on the right producing the pattern you see. This effect was much worse before I sanded the top down. This could have been fixed by specifying a higher first layer height, but as this was only a test print to see how two colors would work, I didn't bother correcting it.
To be honest, using the zebra plate is far easier on the printer if you know what you are doing. However, these machines belong to Vocademy so you have to live by their rules. Moral of the story: print with a raft and coat the box with XTC-3D to deal with the surface imperfections left by the raft.

Index: